Create Users, User Groups and Attach Policies
AWS Identity and Access Management (IAM) is a web service that enables Amazon Web Services (AWS) customers to manage users and user permissions in AWS. With IAM, you can centrally manage users, security credentials such as access keys, and permissions that control which AWS resources users can access.
Topics covered
This lab will demonstrate:
- Exploring IAM Users and Groups
- Inspecting IAM policies and attach to the created groups
- Following a real-world scenario, adding users to groups with specific capabilities enabled
- Locating and using the IAM sign-in URL
- Experimenting with the effects of policies on service access
AWS Identity and Access Management
AWS Identity and Access Management (IAM) can be used to:
-
Manage IAM Users and their access: You can create Users and assign them individual security credentials (access keys, passwords, and multi-factor authentication devices). You can manage permissions to control which operations a User can perform.
-
Manage IAM Roles and their permissions: An IAM Role is similar to a User, in that it is an AWS identity with permission policies that determine what the identity can and cannot do in AWS. However, instead of being uniquely associated with one person, a Role is intended to be assumable by anyone who needs it.
-
Manage federated users and their permissions: You can enable identity federation to allow existing users in your enterprise to access the AWS Management Console, to call AWS APIs and to access resources, without the need to create an IAM User for each identity.
Duration
This lab takes approximately 30 minutes to complete.
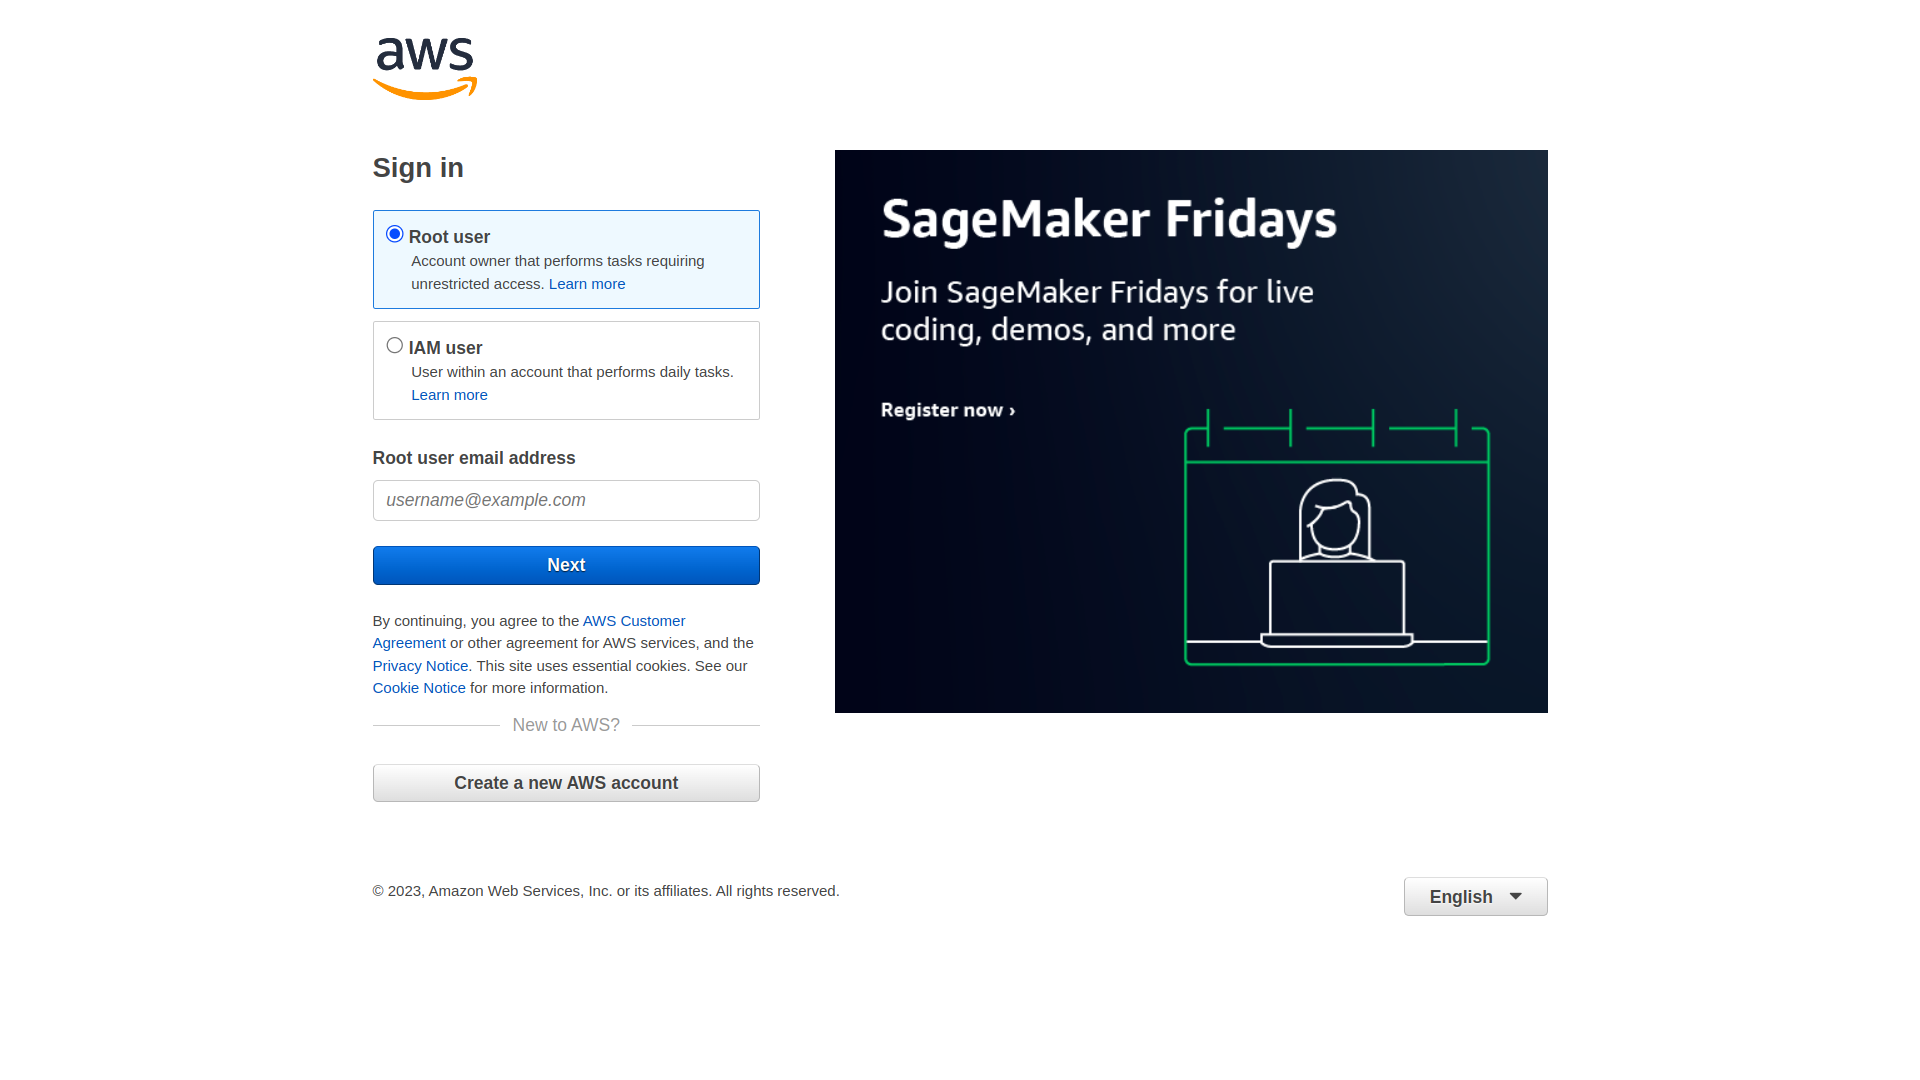
Accessing the AWS Management Console
-
Access to https://console.aws.amazon.com.
-
Sign in by Root user or IAM User.
Task 1: Create Users and Groups
In this task, you need to create Users and Groups in IAM.
-
In the AWS Management Console, on the Services menu, select IAM.
-
In the navigation panel on the left, choose Users and Add users.
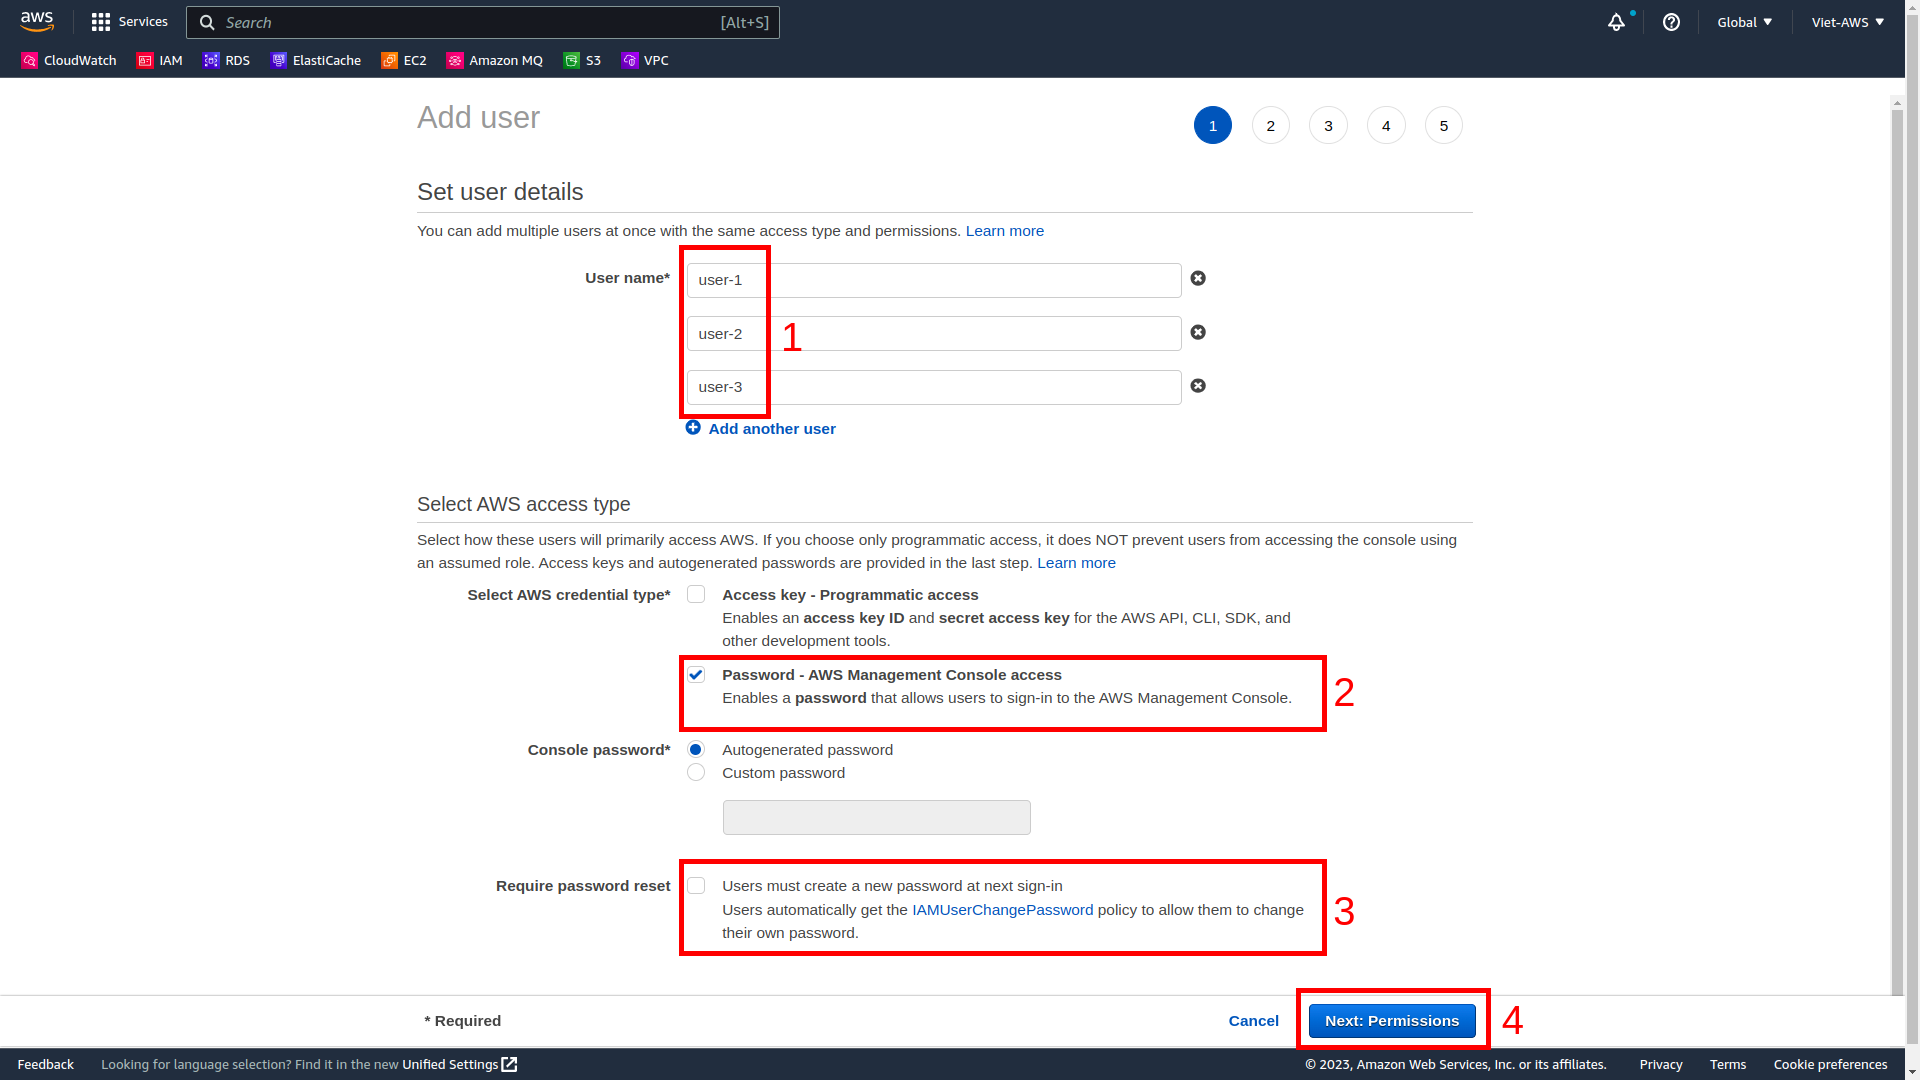
We need to create 3 IAM users:
-
user-1
-
user-2
-
user-3
-

-
Add 3 users, select checkbox Password - AWS Management Console access and uncheck checkbox Users must create a new password at next sign-in as below picture.
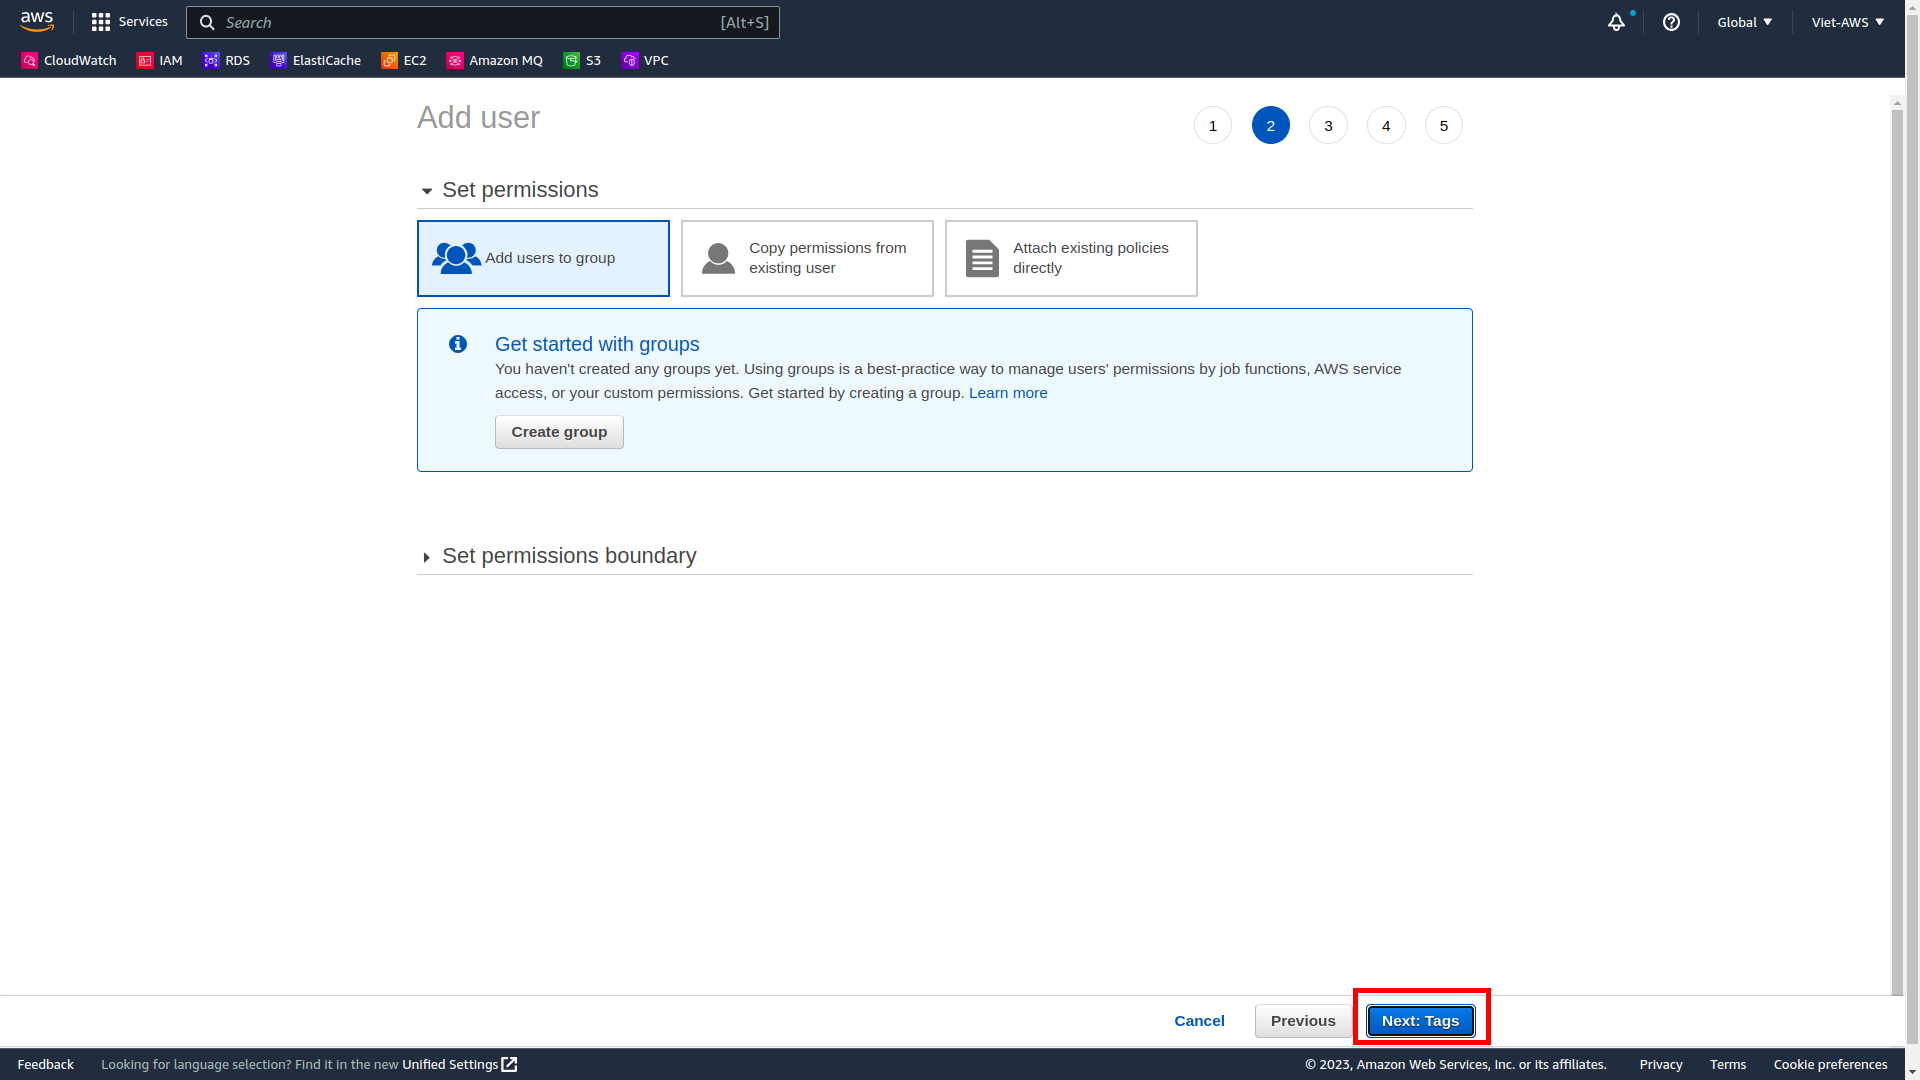
Select Next: Permissions.
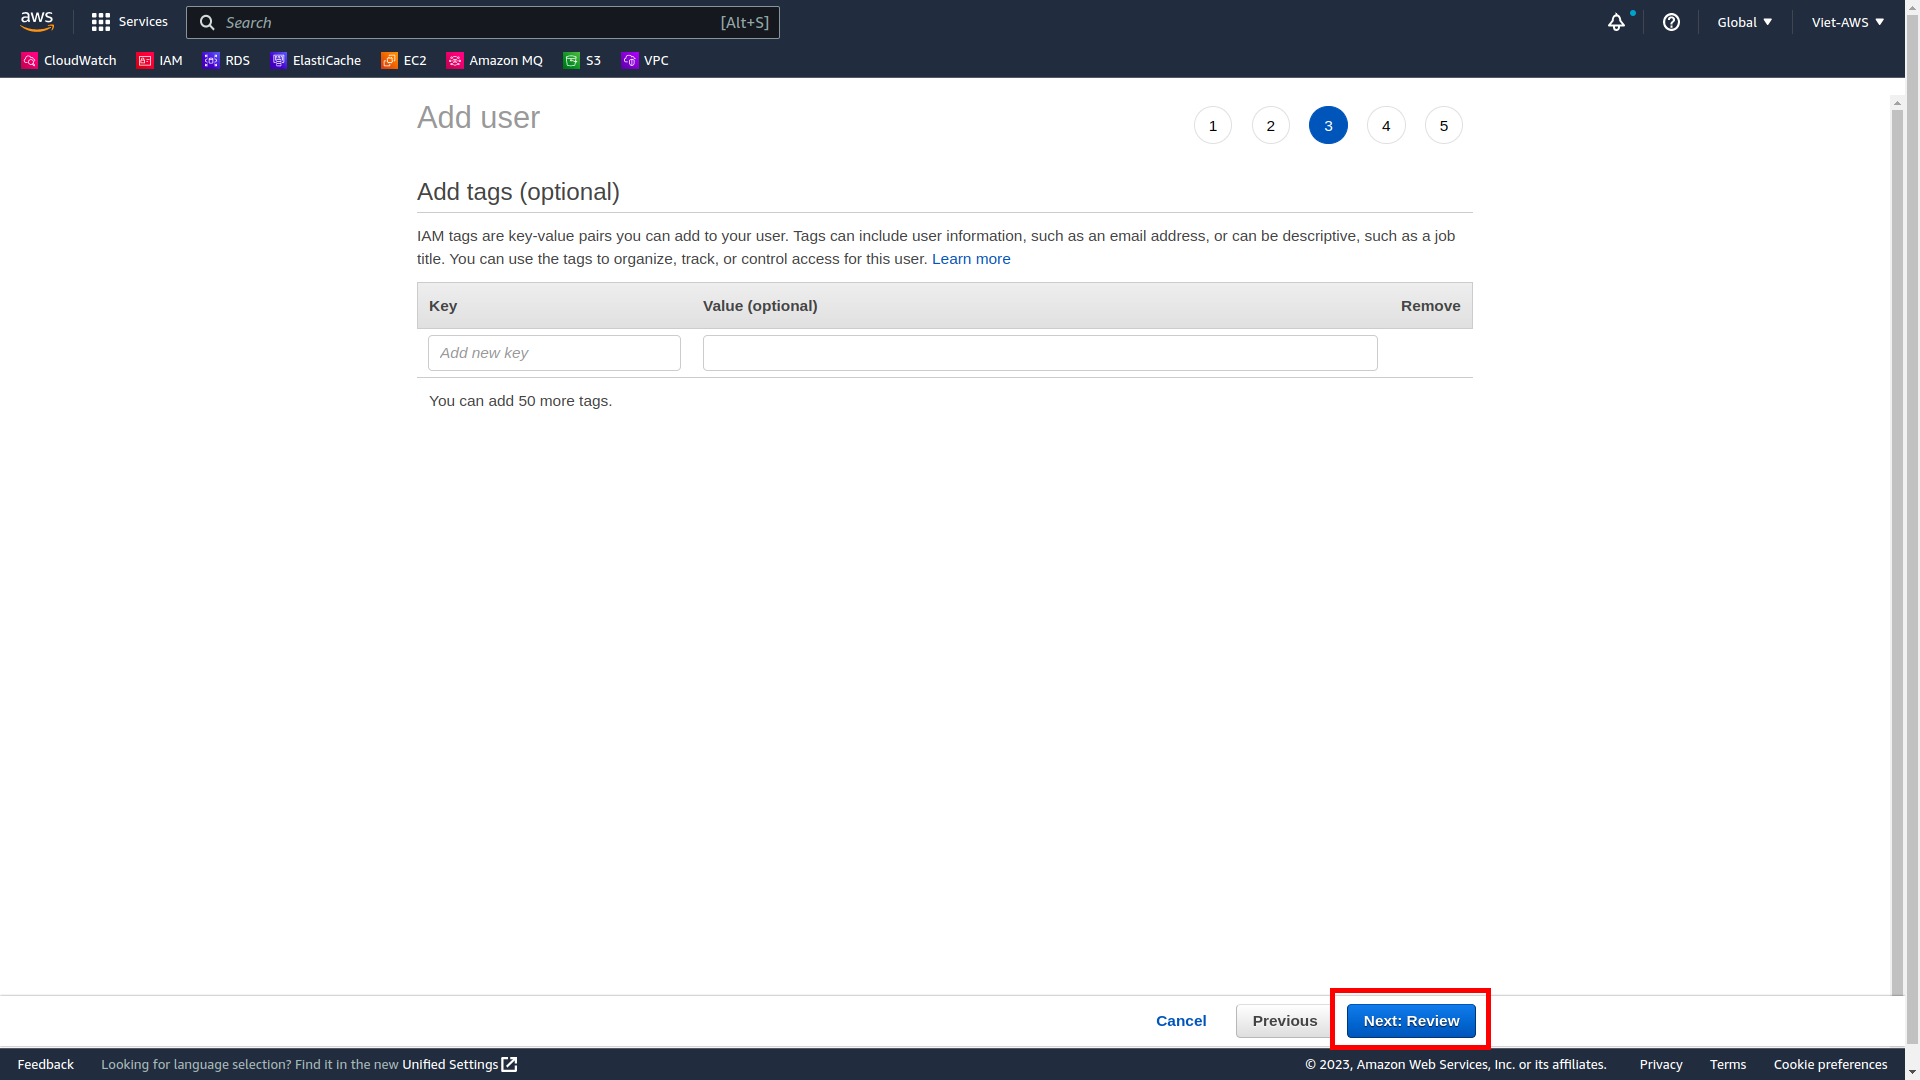
- Select Next: Tags.
- Select Next: Review.
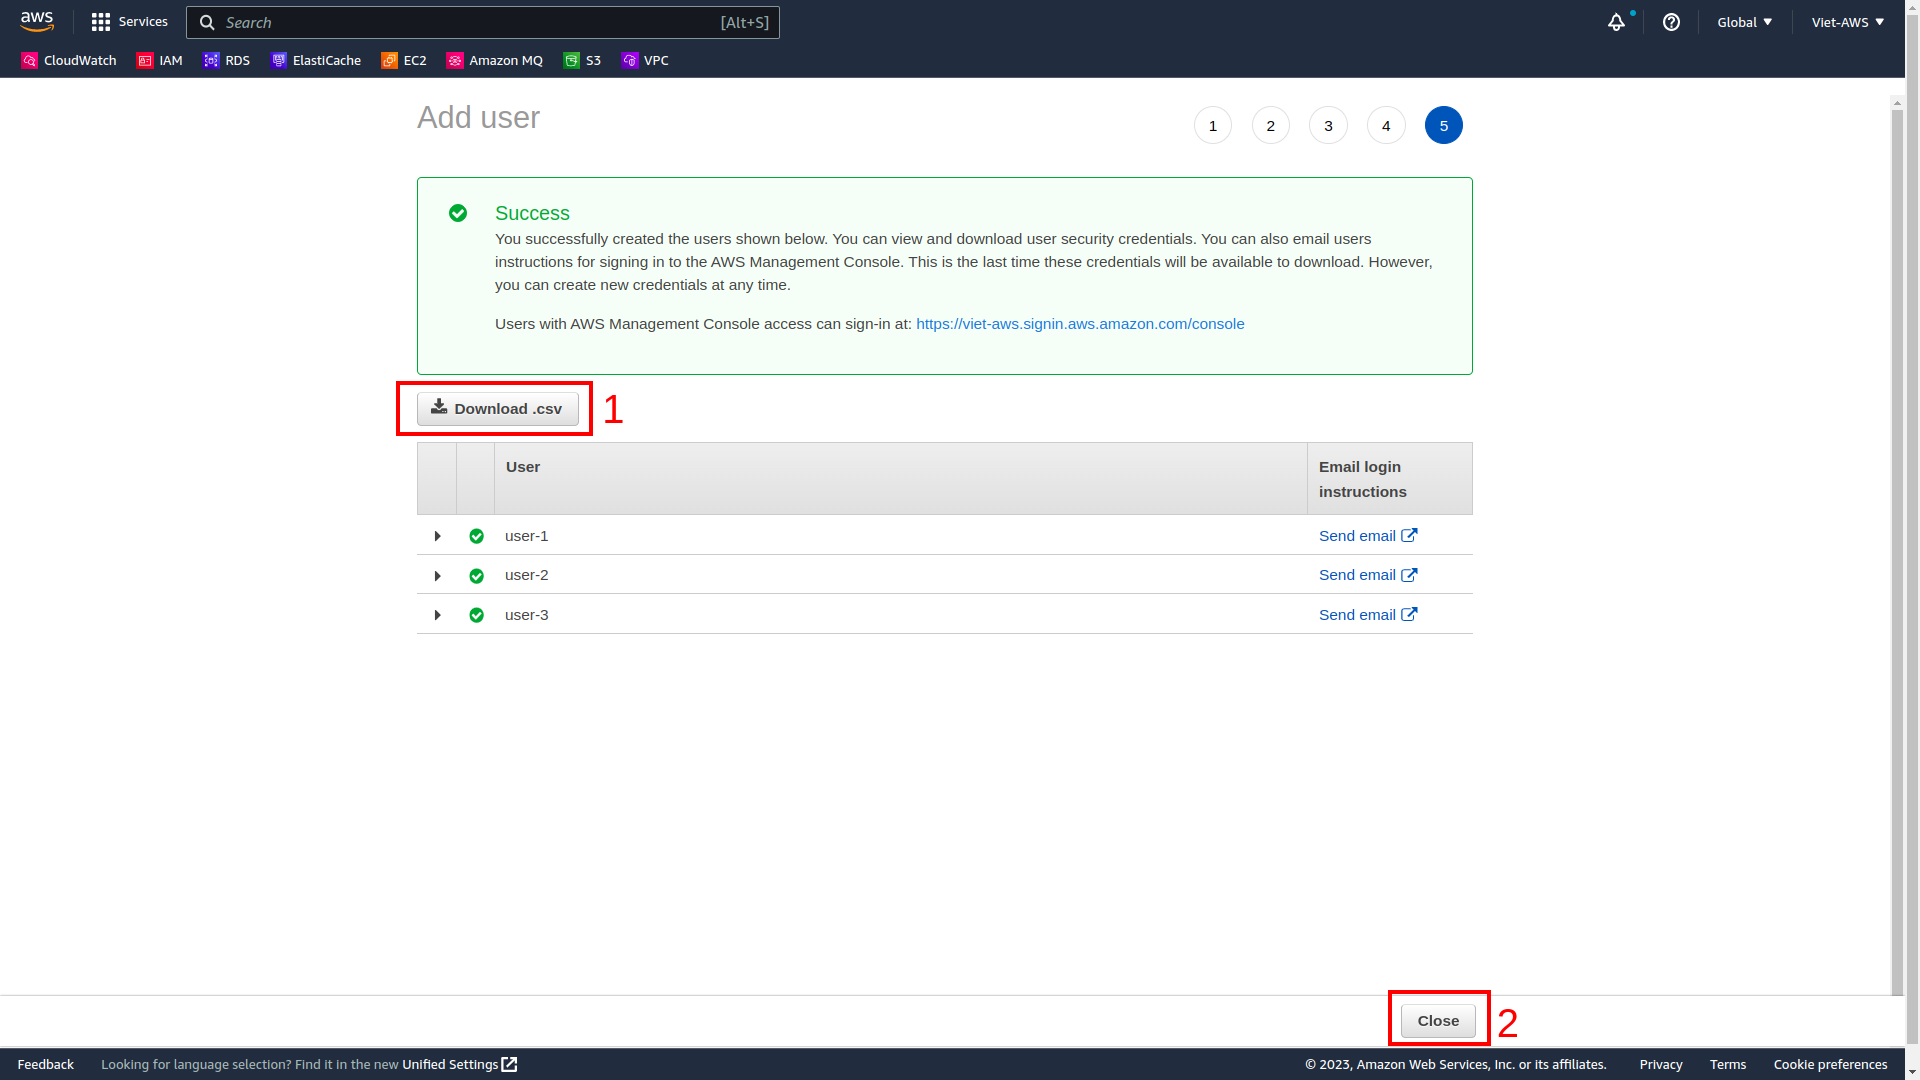
- Select Create users.

- Download .csv for save. Then Close.
-
Choose user-1.
This will bring to a summary page for user-1. The Permissions tab will be displayed.
-
Notice that user-1 does not have any permissions.
-
Choose the Groups tab.
user-1 also is not a member of any groups.
-
Choose the Security credentials tab.
user-1 is assigned a Console password
-
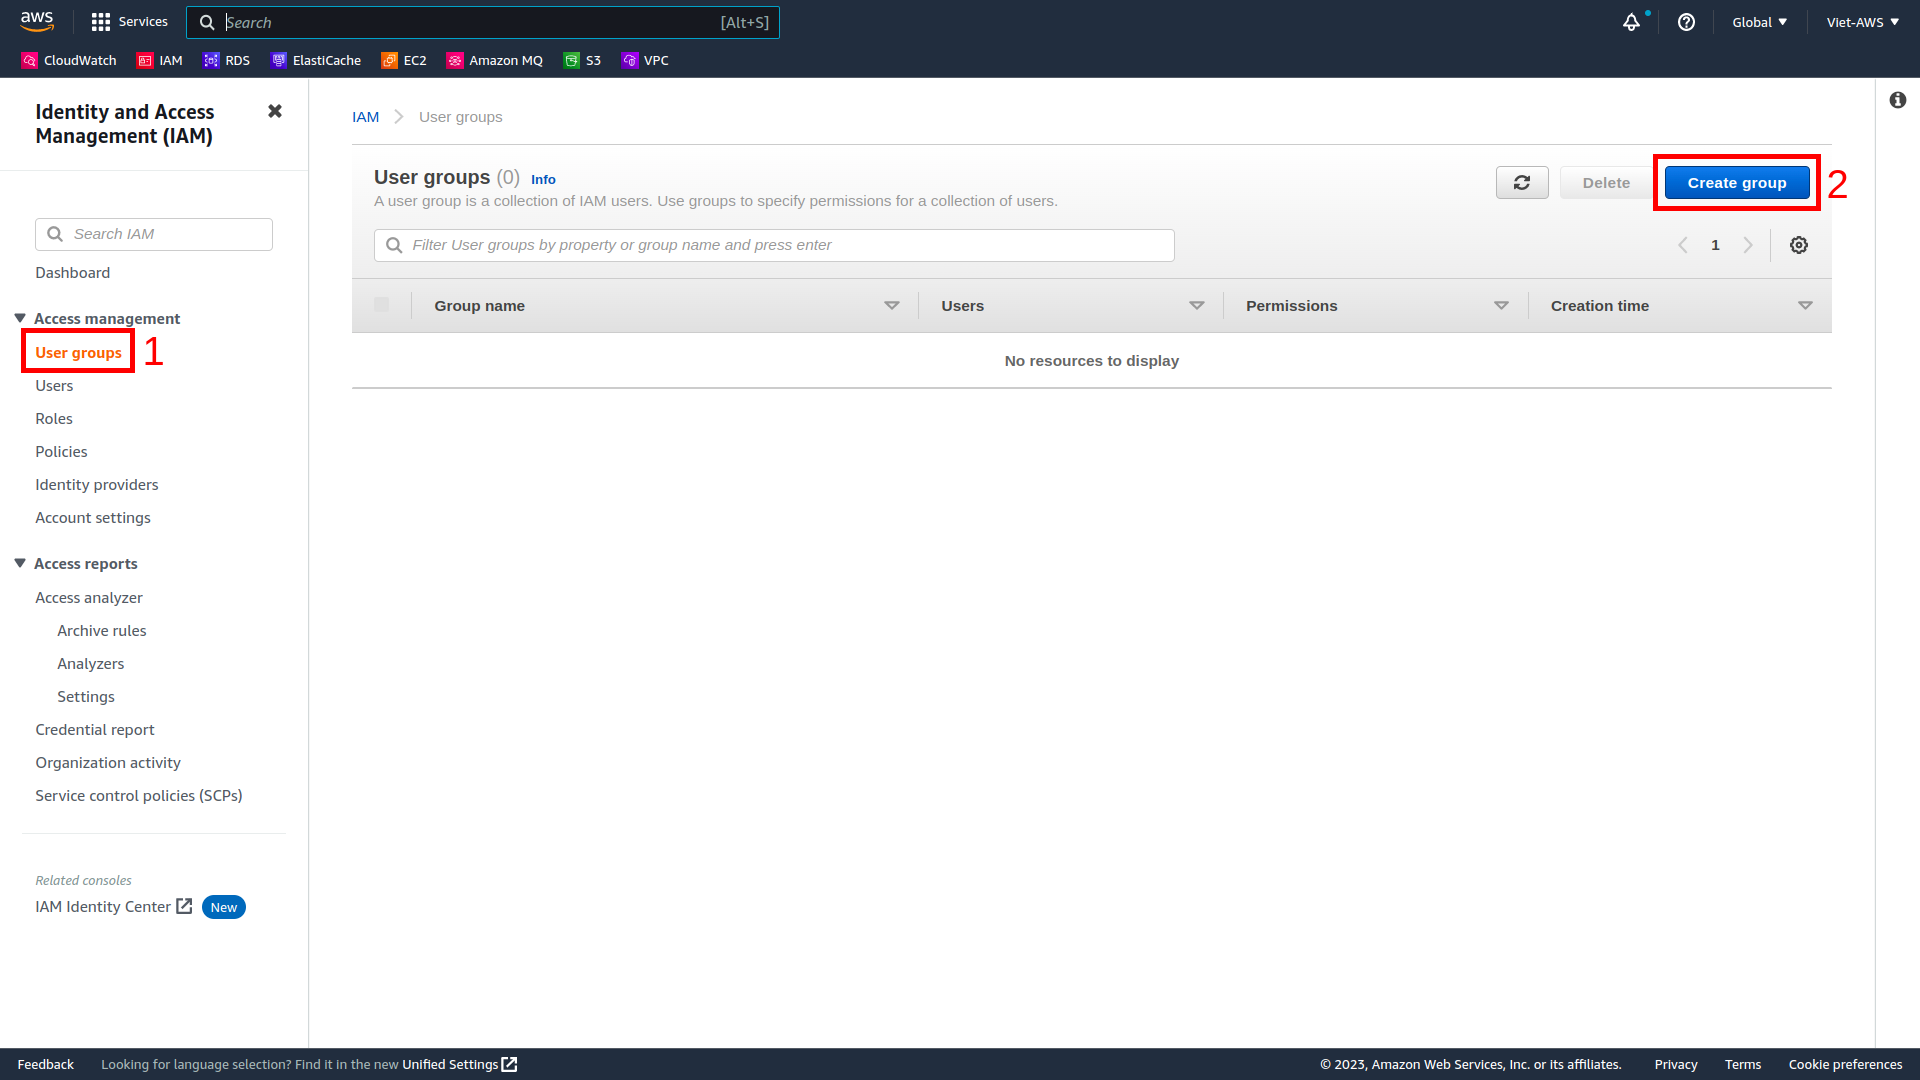
In the navigation pane on the left, choose User groups and Create group.
We need to create 3 IAM Groups:
-
EC2-Admin
-
EC2-Support
-
S3-Support
-
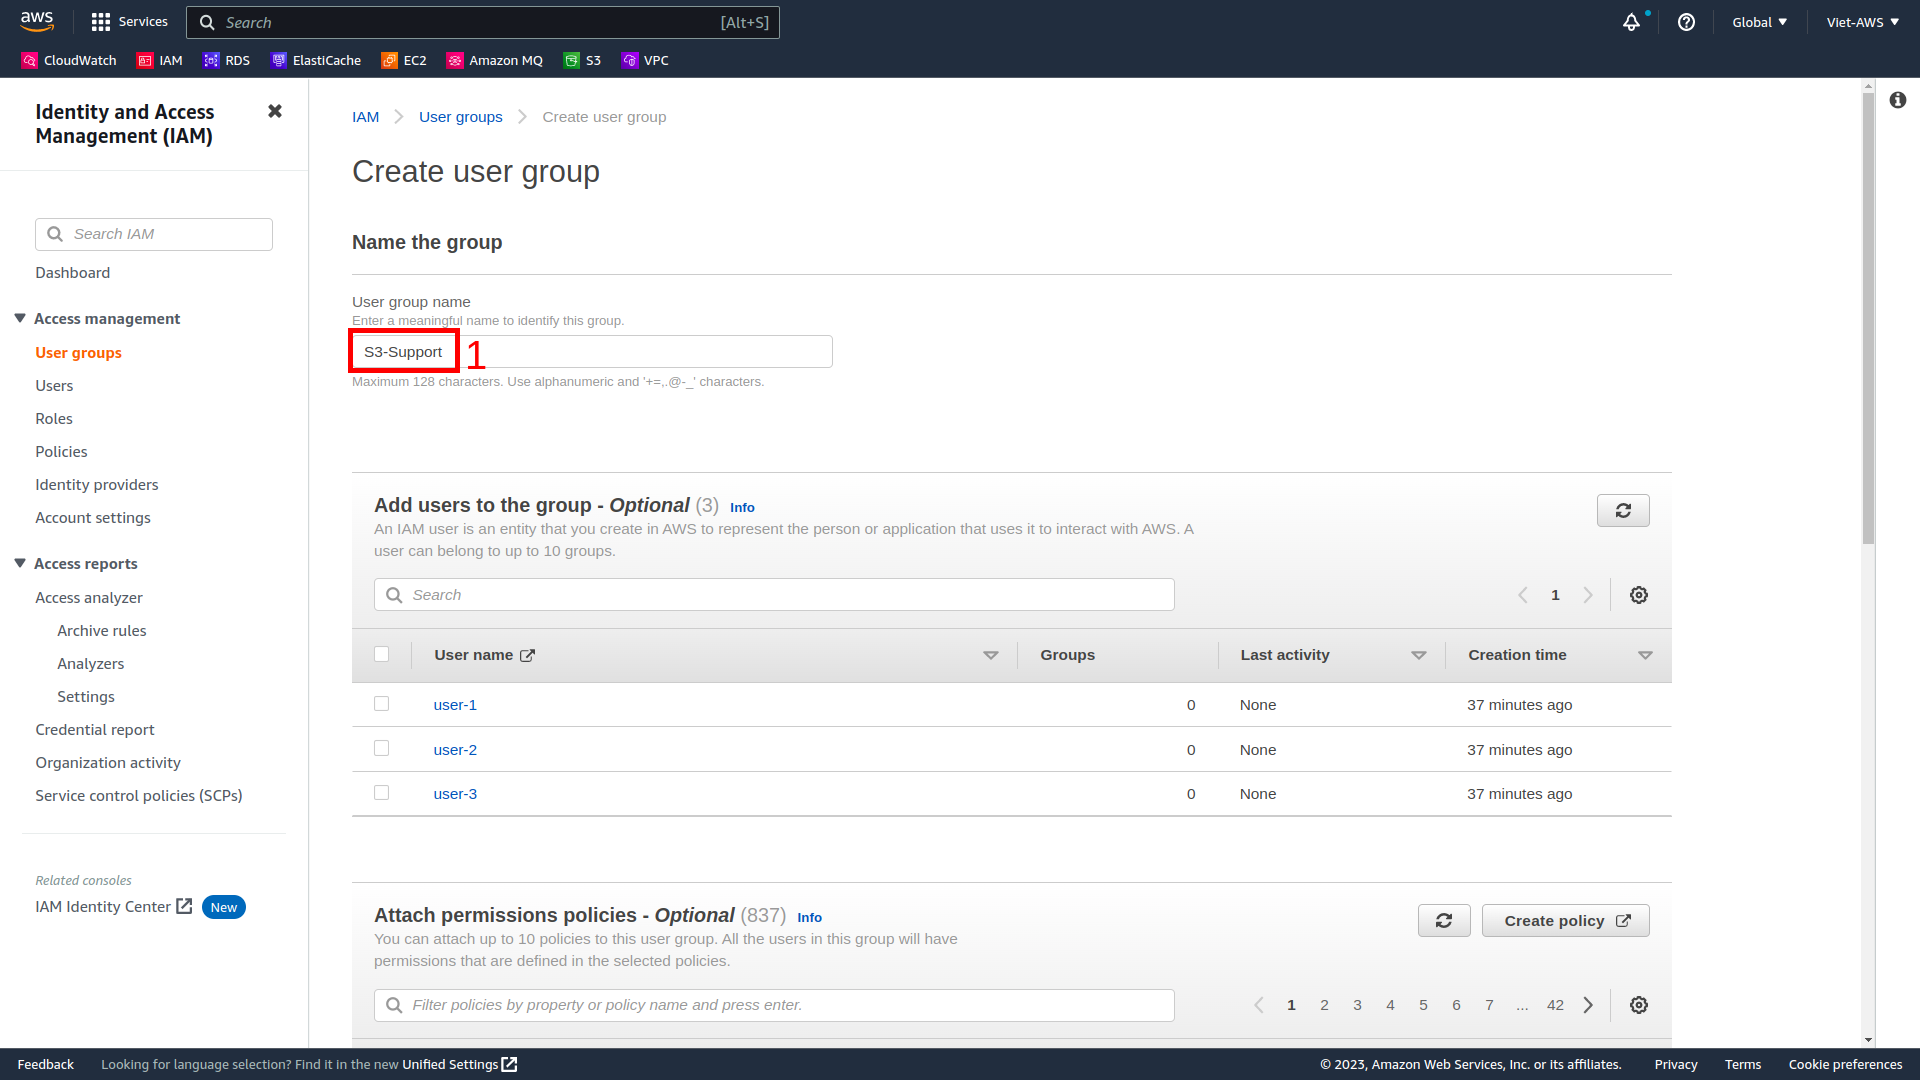
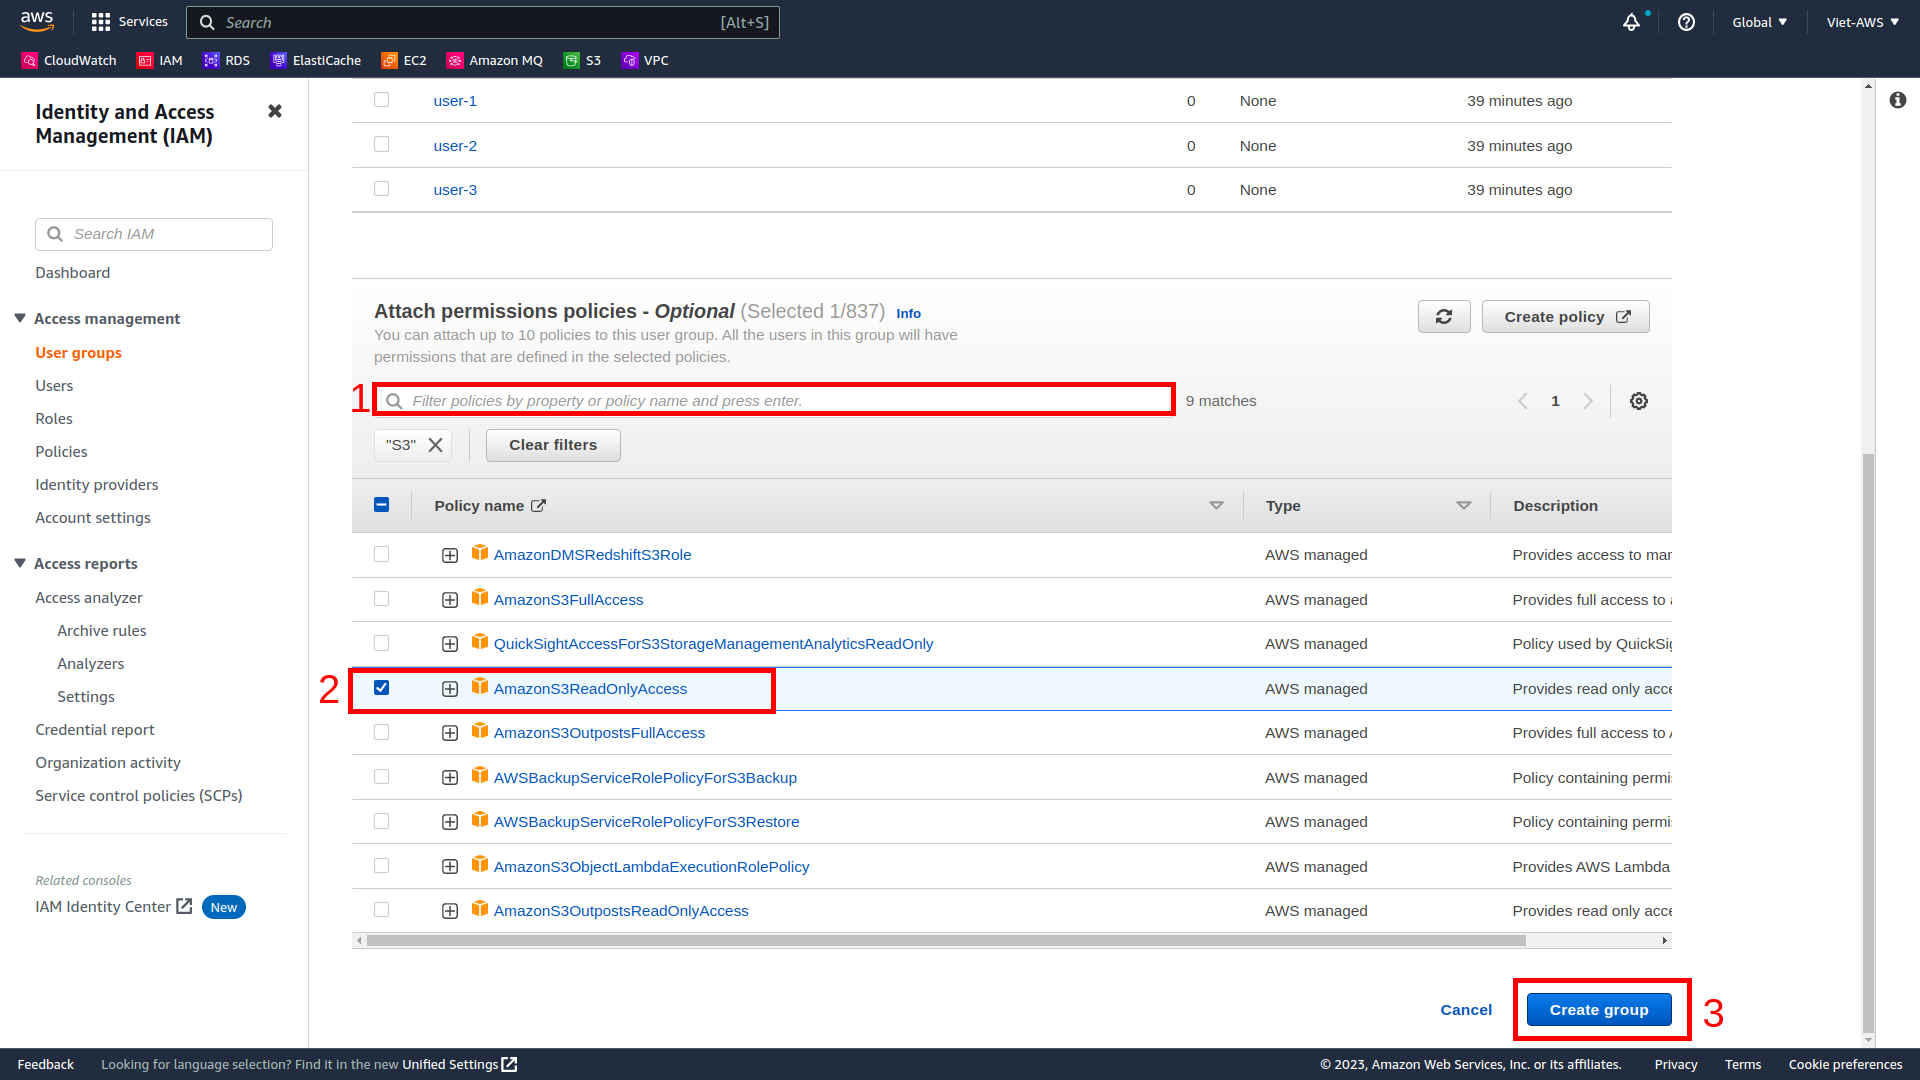
- Enter S3-Support to textbox User group name.
-
Scroll down and enter S3 to textbox Filter policies and Enter to search.
Check to AmazonS3ReadOnlyAccess and select Create group.
This group has a Managed Policy associated with it, called AmazonEC2ReadOnlyAccess. Managed Policies are pre-built policies (built either by AWS or by your administrators) that can be attached to IAM Users and Groups. When the policy is updated, the changes to the policy are immediately apply against all Users and Groups that are attached to the policy.
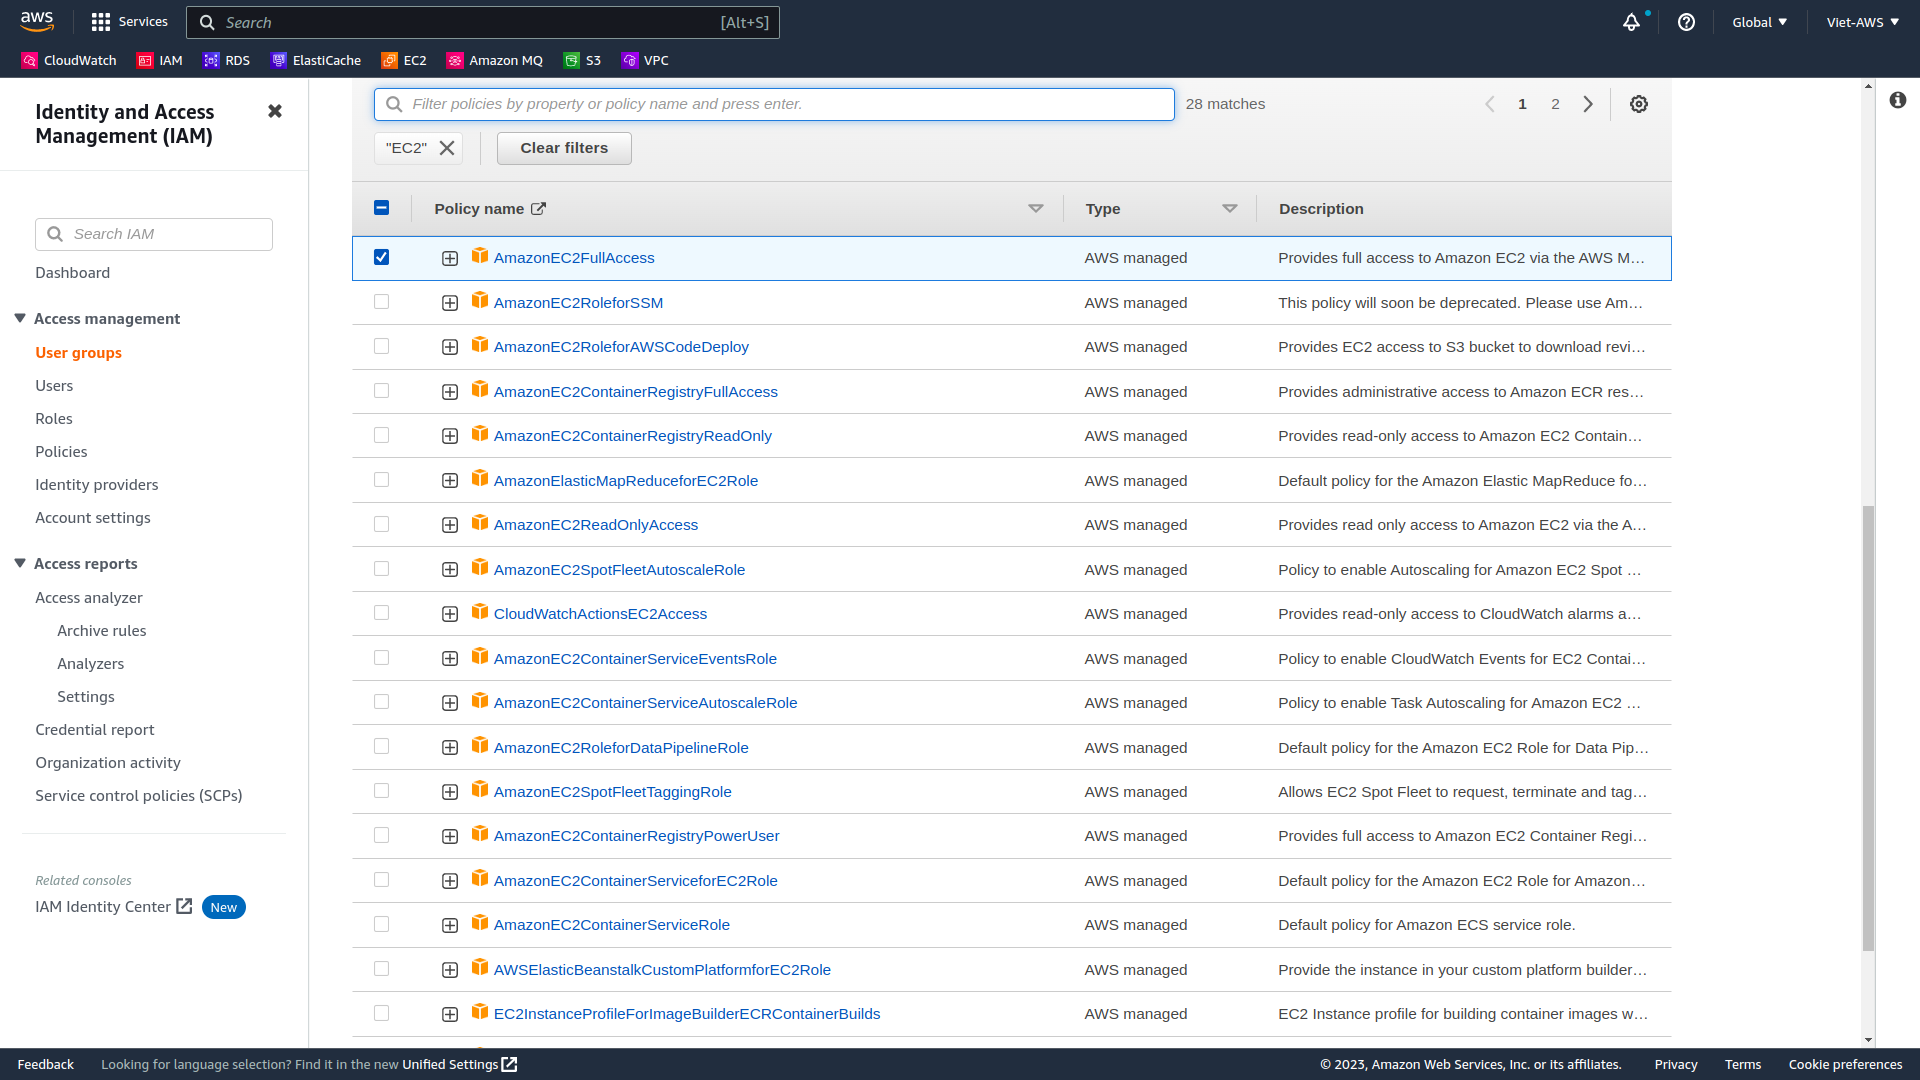
- Using similar steps to the ones above, create EC2-Admin with AmazonEC2FullAccess.
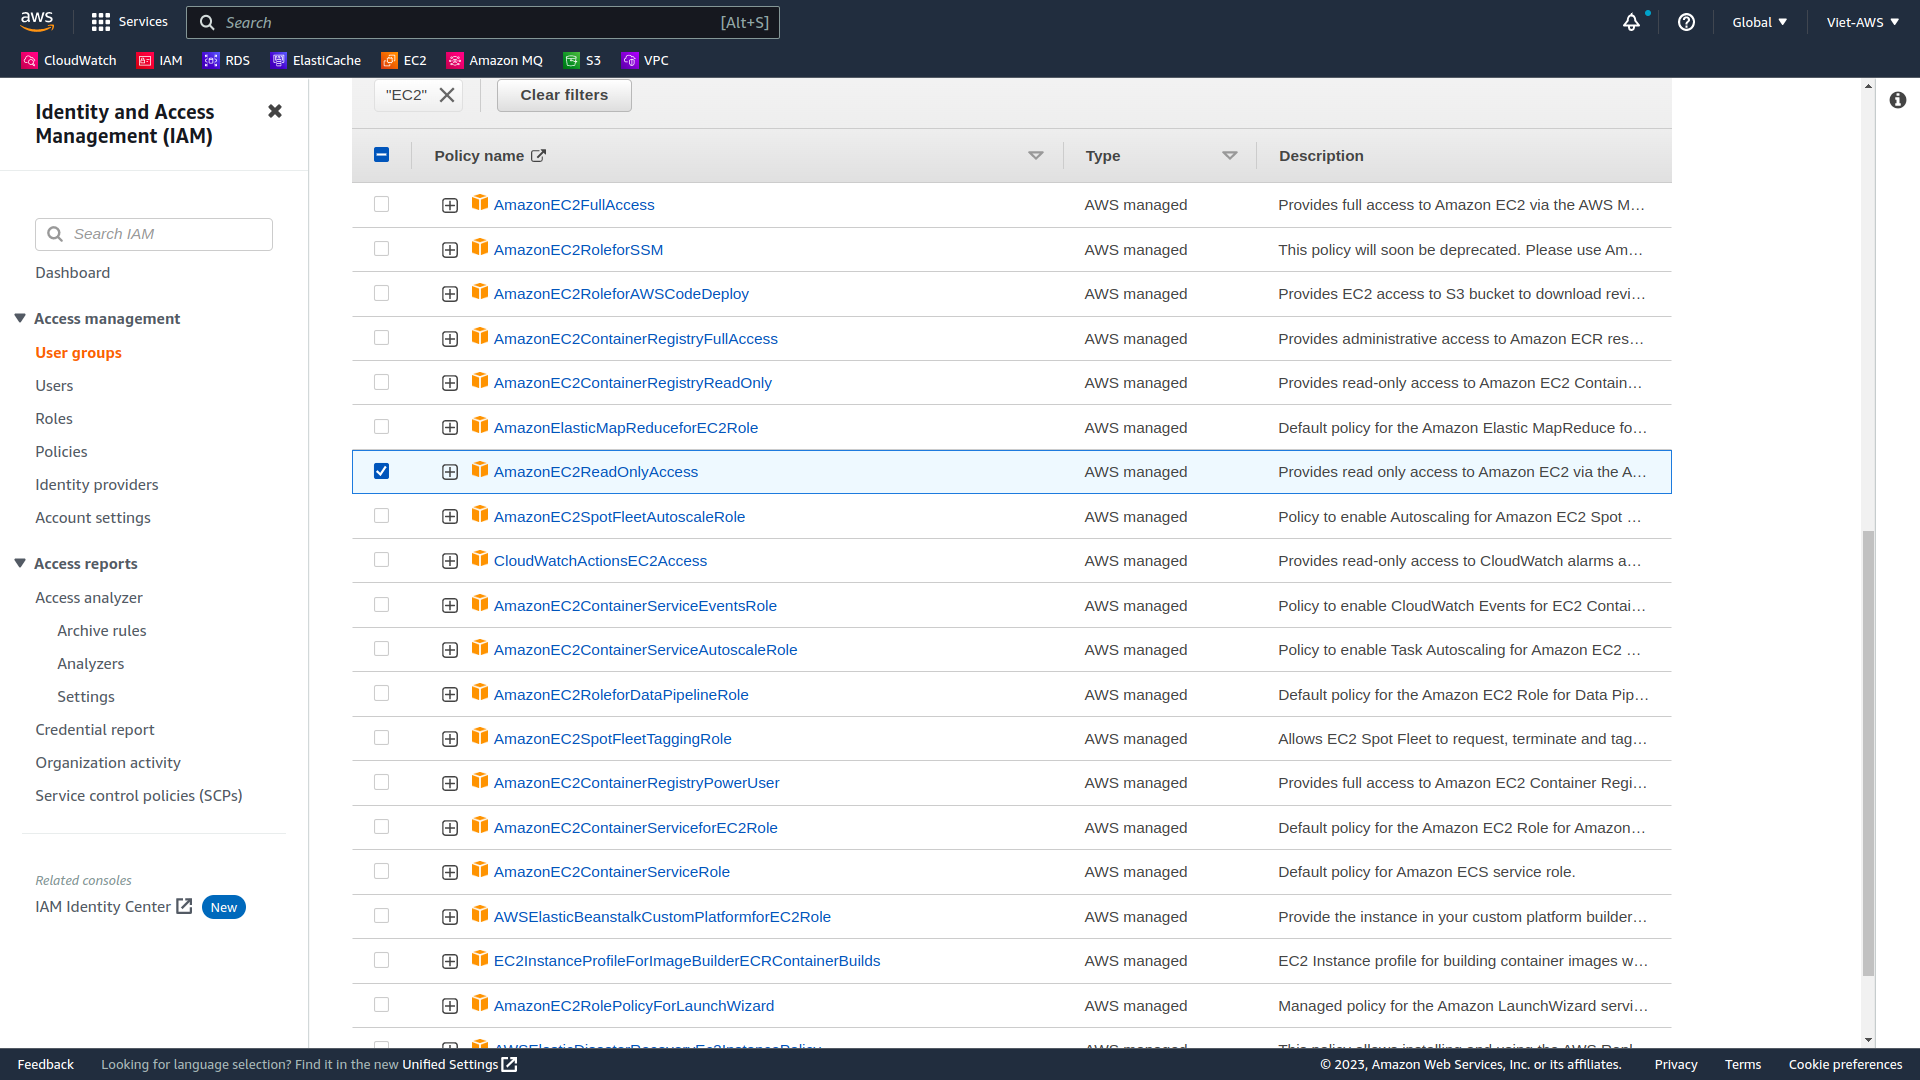
- And EC2-Support with AmazonEC2ReadOnlyAccess.
-
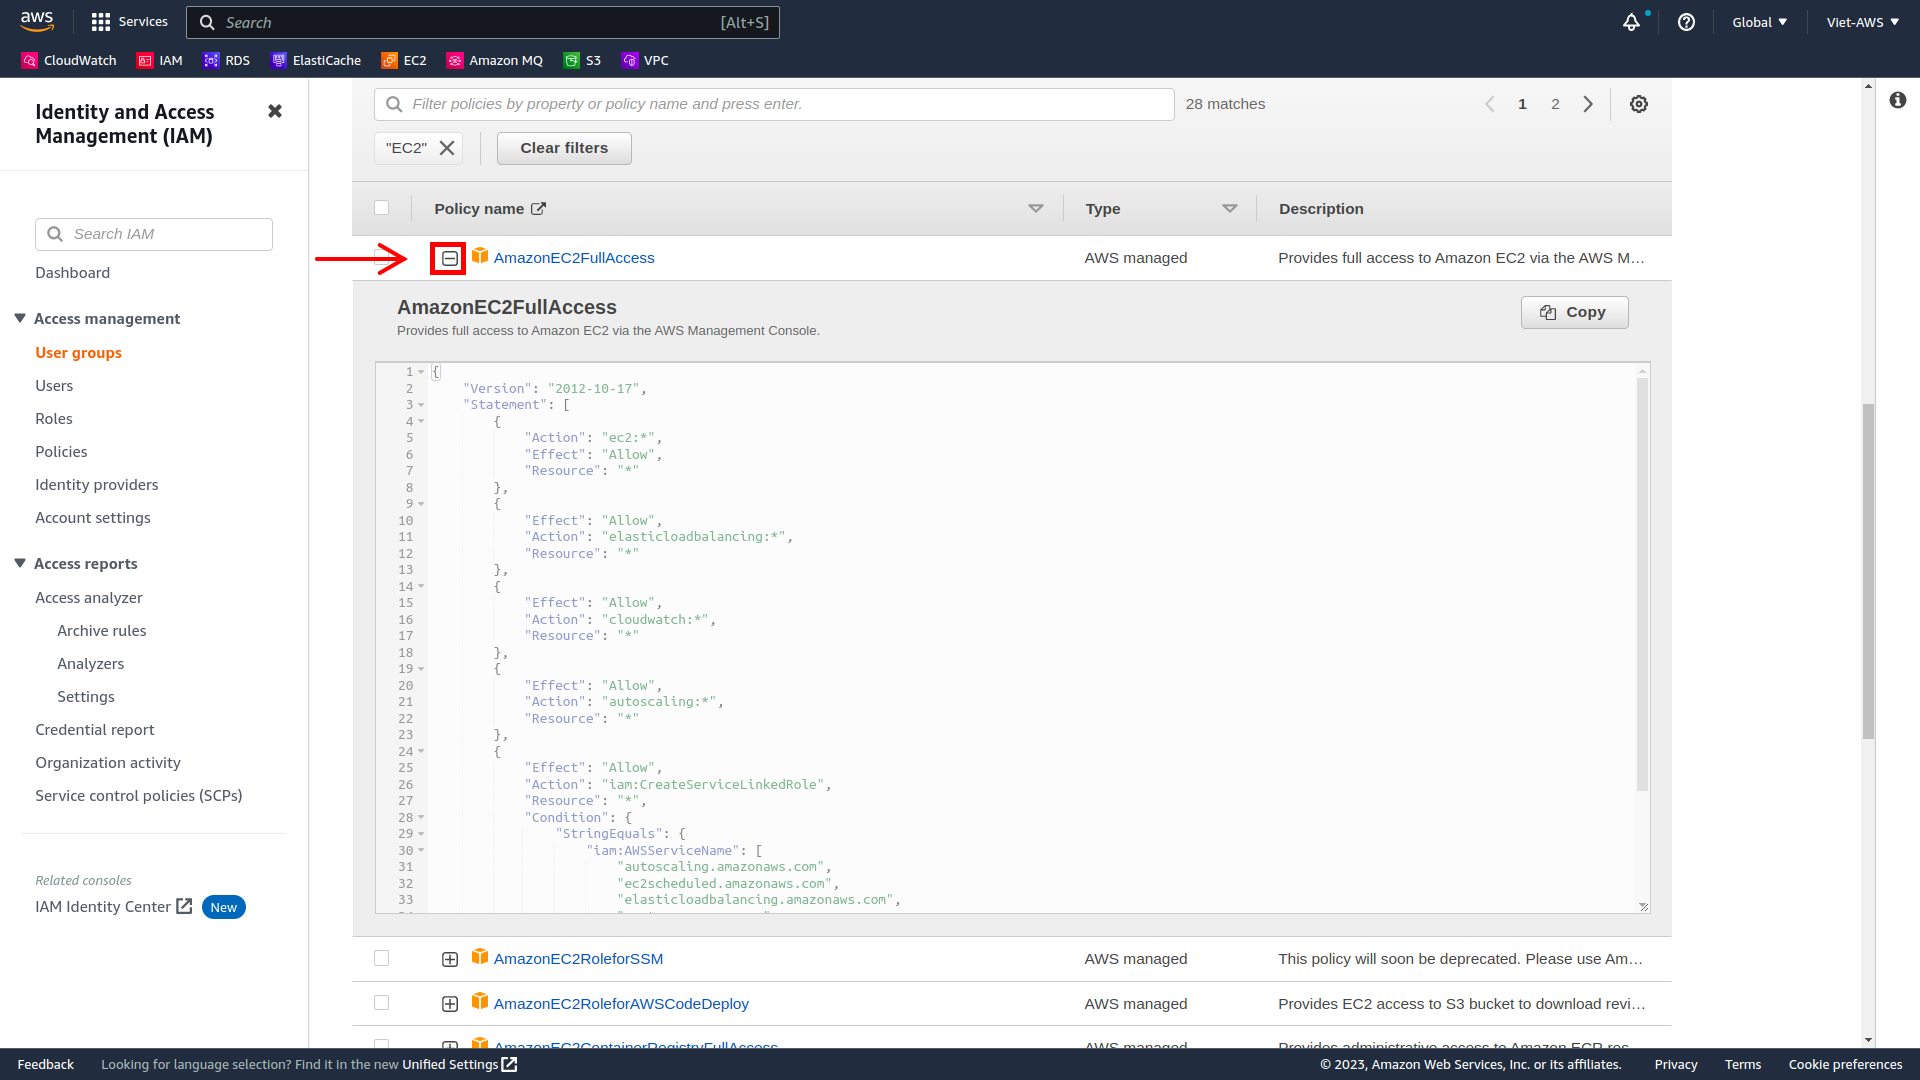
When filter policies, can choose the plus (+) icon next to the AmazonEC2ReadOnlyAccess policy to view the policy details.
Note: A policy defines what actions are allowed or denied for specific AWS resources.
This policy is granting permission to List and Describe information about EC2, Elastic Load Balancing, CloudWatch and Auto Scaling. This ability to view resources, but not modify them, is ideal for assigning to a Support role.
The basic structure of the statements in an IAM Policy is:
-
Effect says whether to Allow or Deny the permissions.
-
Action specifies the API calls that can be made against an AWS Service (eg cloudwatch:ListMetrics).
-
Resource defines the scope of entities covered by the policy rule (eg a specific Amazon S3 bucket or Amazon EC2 instance, or * which means any resource).
Choose the minus icon (-) to hide the policy details.
-
- In the navigation pane on the left, choose User groups to view list of user groups.
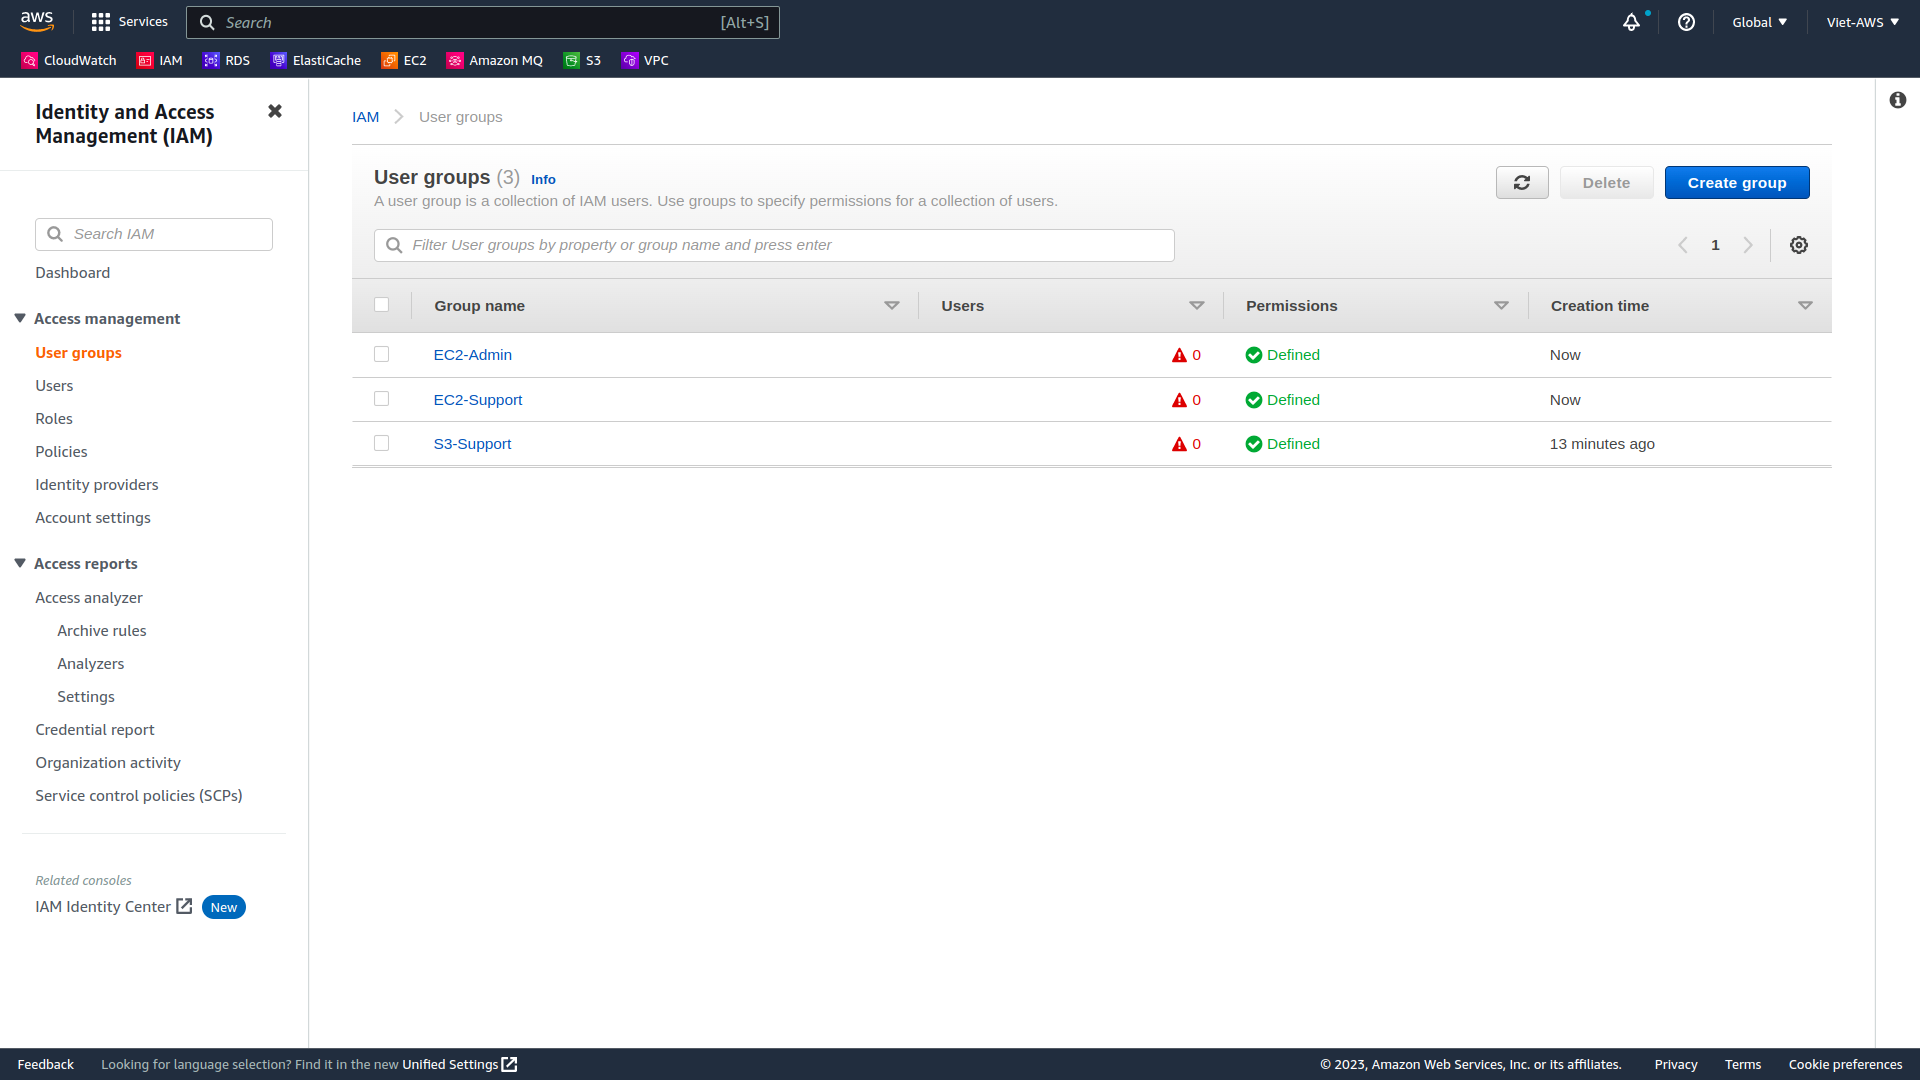
Business Scenario
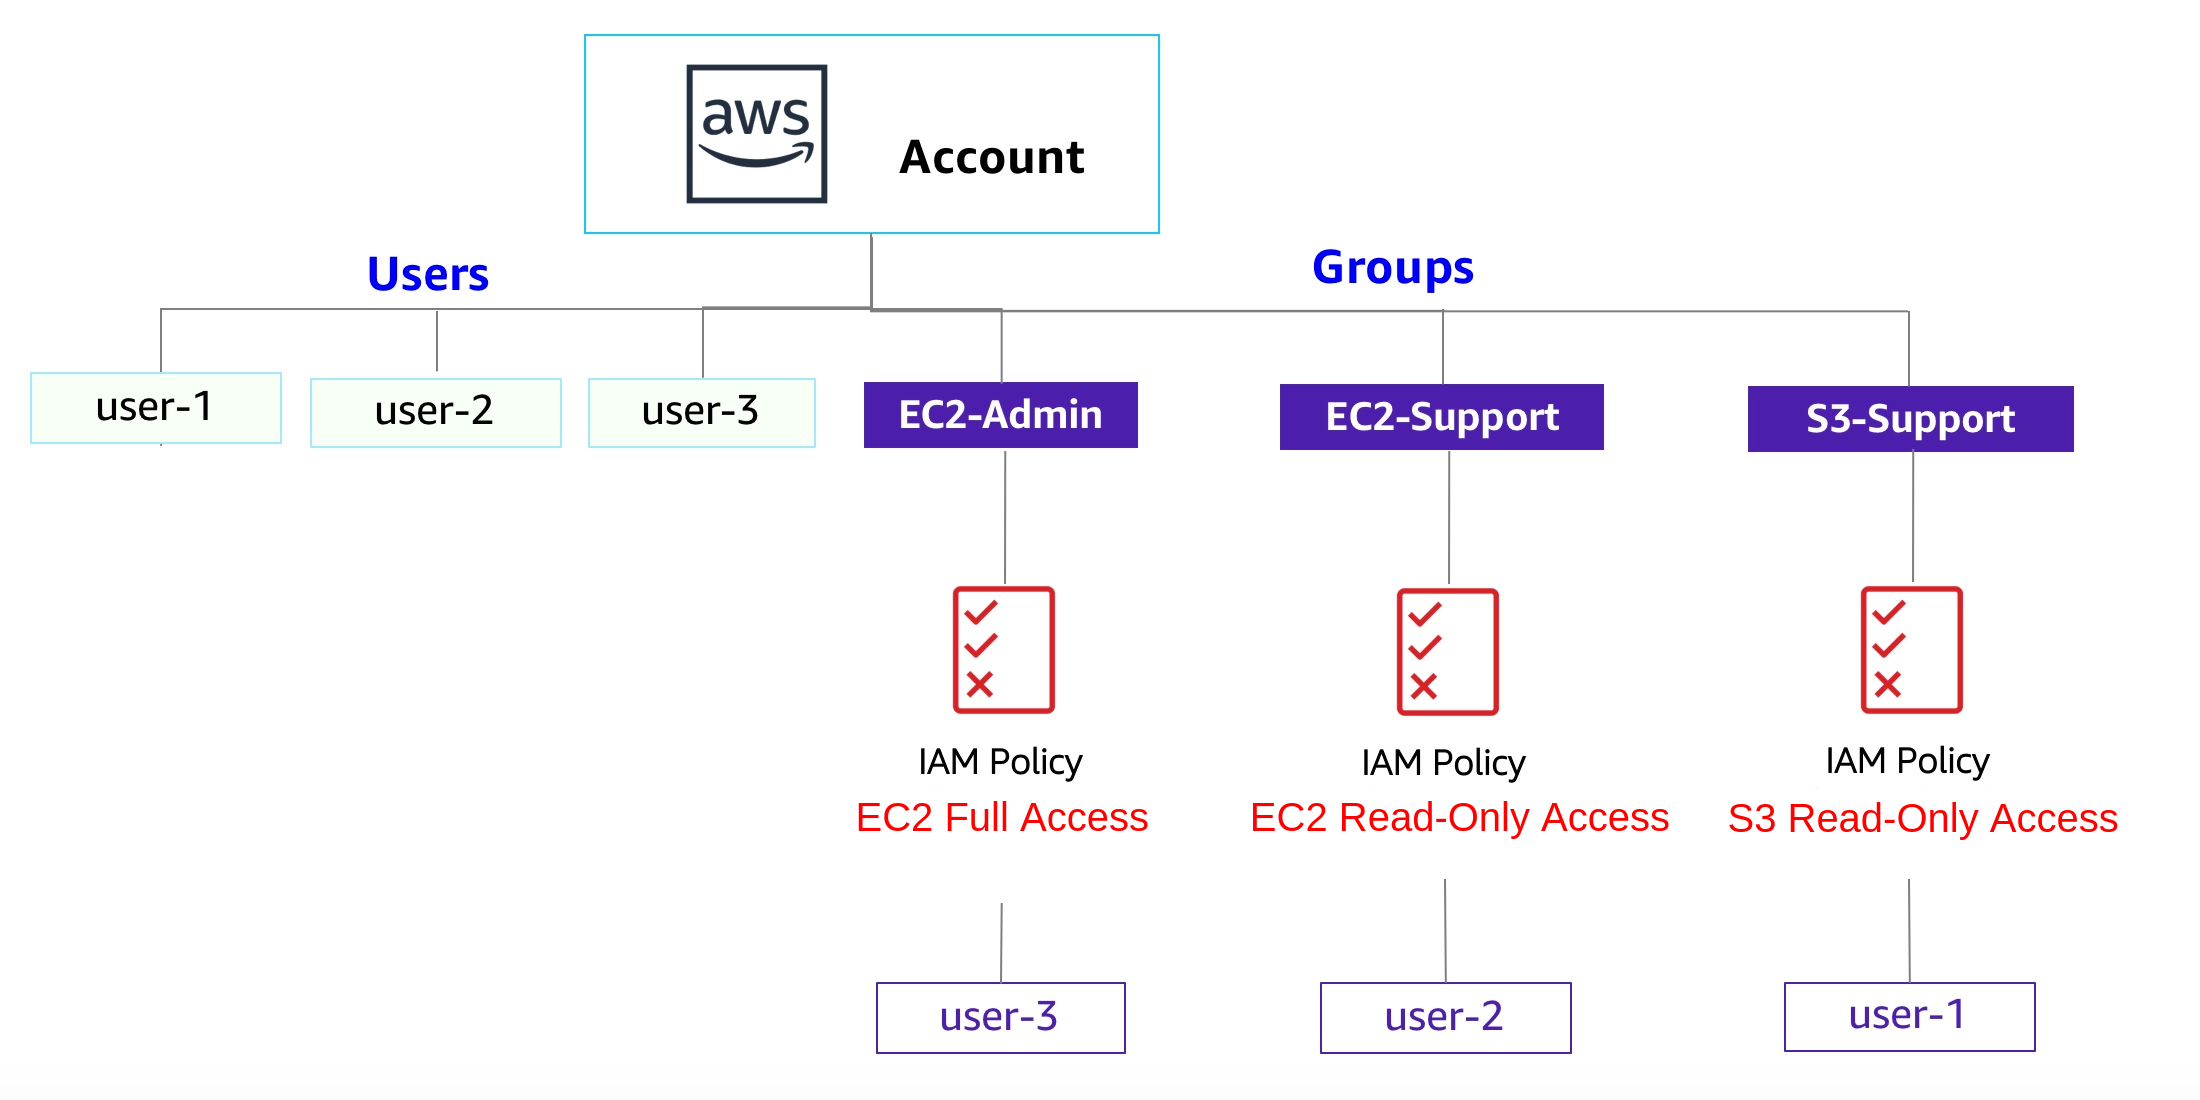
For the remainder of this lab, you will work with these Users and Groups to enable permissions supporting the following business scenario:
Your company is growing its use of Amazon Web Services, and is using many Amazon EC2 instances and a great deal of Amazon S3 storage. You wish to give access to new staff depending upon their job function:
| User | In Group | Permissions |
|---|---|---|
| user-1 | S3-Support | Read-Only access to Amazon S3 |
| user-2 | EC2-Support | Read-Only access to Amazon EC2 |
| user-3 | EC2-Admin | Full Access to Amazon EC2 |
Task 2: Add Users to Groups
You have recently hired user-1 into a role where they will provide support for Amazon S3. You will add them to the S3-Support group so that they inherit the necessary permissions via the attached AmazonS3ReadOnlyAccess policy.
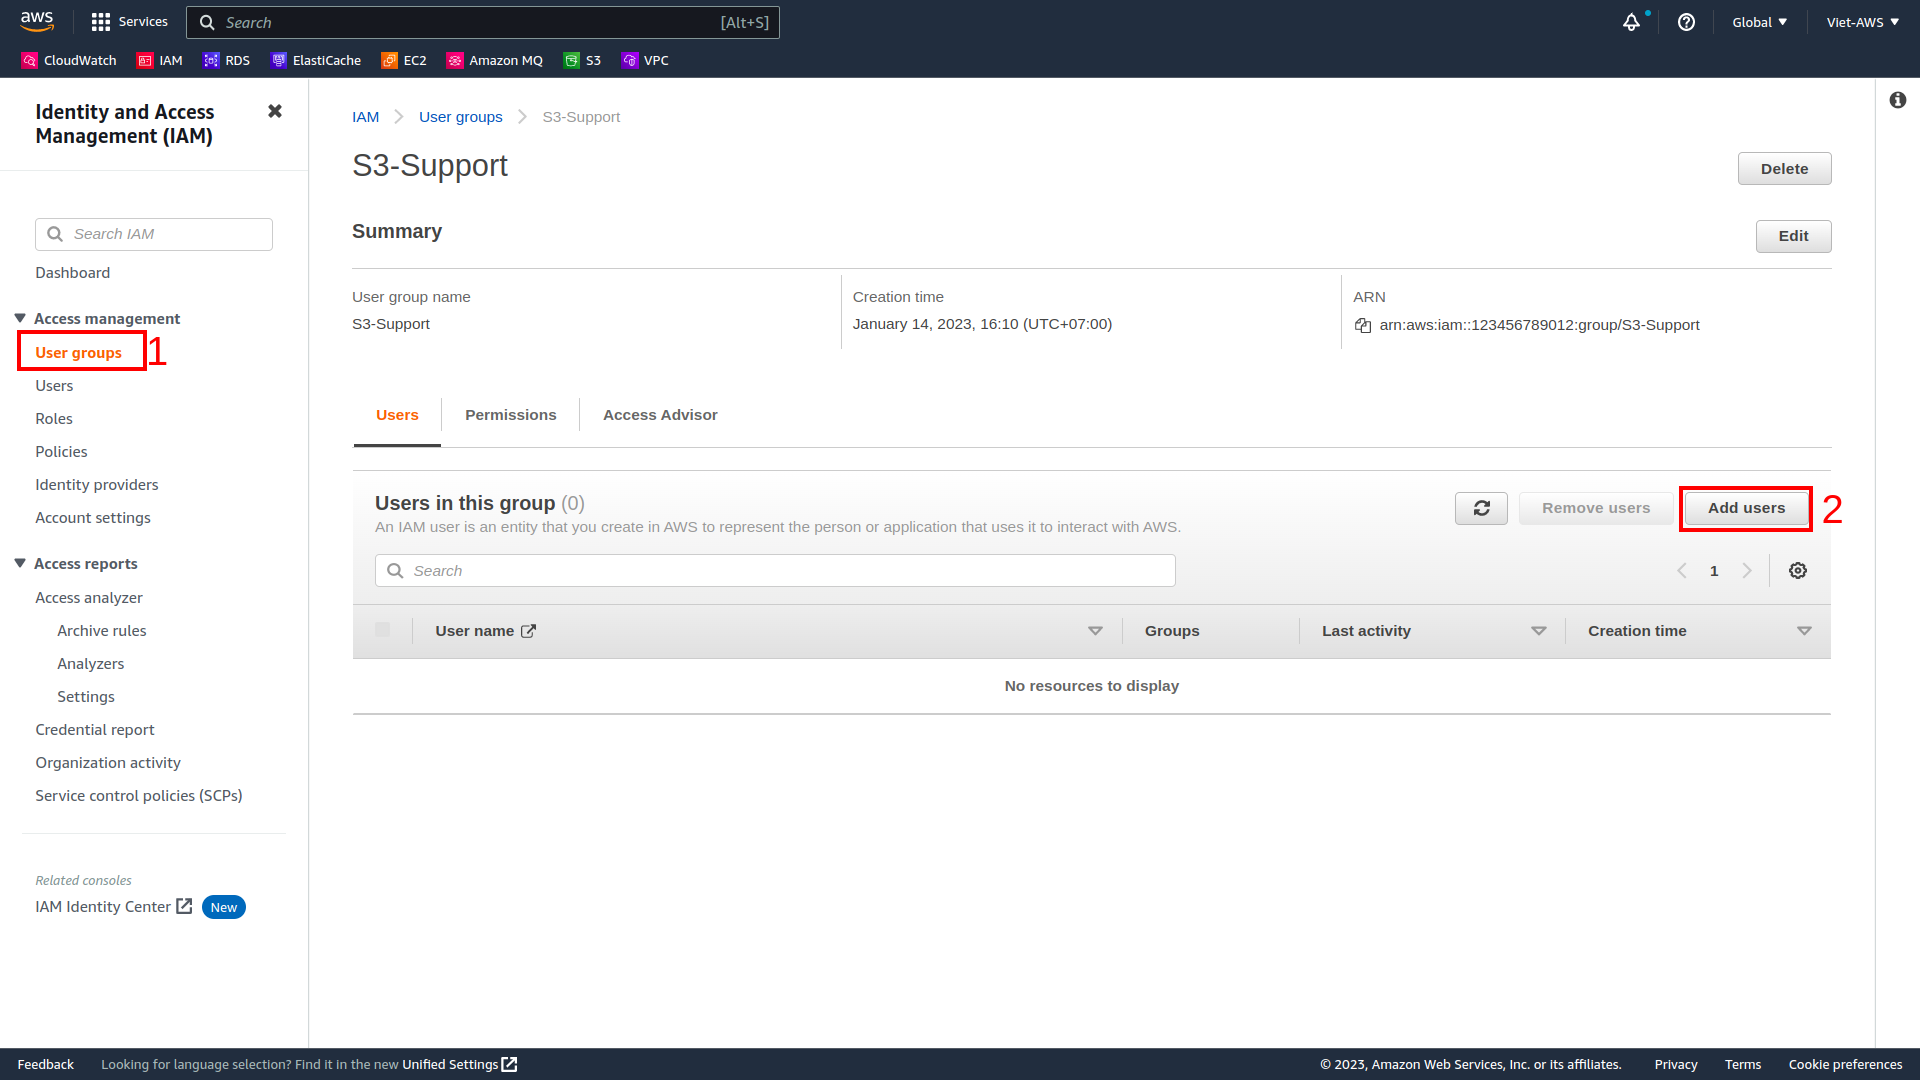
Add user-1 to the S3-Support Group
-
In the left navigation pane, choose User groups.
-
Choose the S3-Support group.
-
Choose the Users tab.
-
In the Users tab, choose Add users.
-
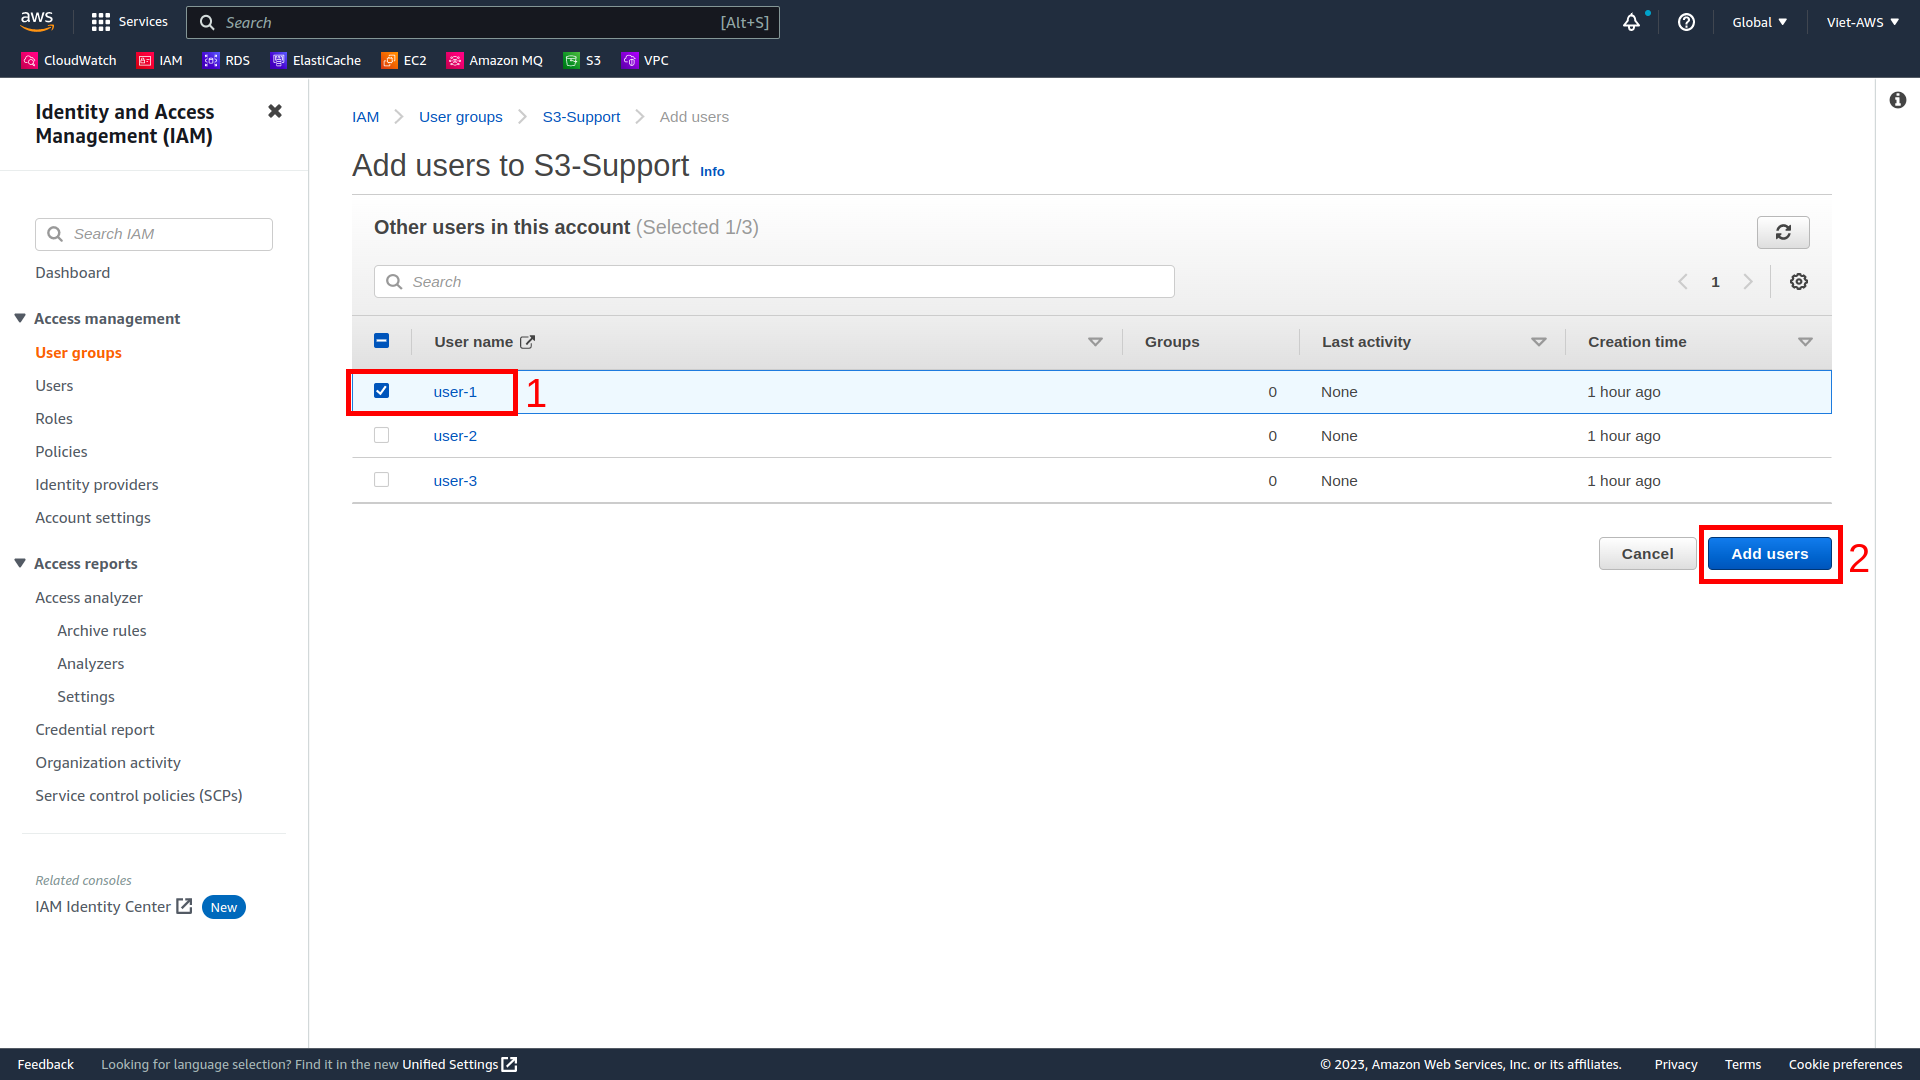
In the Add Users to S3-Support window, configure the following:
Select user-1.
At the bottom of the screen, choose Add Users.
In the Users tab you will see that user-1 has been added to the group.

Add user-2 to the EC2-Support Group
You have hired user-2 into a role where they will provide support for Amazon EC2.
-
Using similar steps to the ones above, add user-2 to the EC2-Support group.
user-2 should now be part of the EC2-Support group.
Add user-3 to the EC2-Admin Group
You have hired user-3 as your Amazon EC2 administrator, who manage your EC2 instances.
-
Using similar steps to the ones above, add user-3 to the EC2-Admin group.
user-3 should now be part of the EC2-Admin group.
-
In the navigation pane on the left, choose User groups.
Each Group should now have a 1 in the Users column for the number of Users in each Group.
If you do not have a 1 beside each group, revisit the above instructions above to ensure that each user is assigned to a User group, as shown in the table in the Business Scenario section.
Task 3: Create an EC2 Instance
In this task, you need to create an EC2 instance to test permission of IAM User.
-
In the AWS Management Console, on the Services menu, select EC2.
-
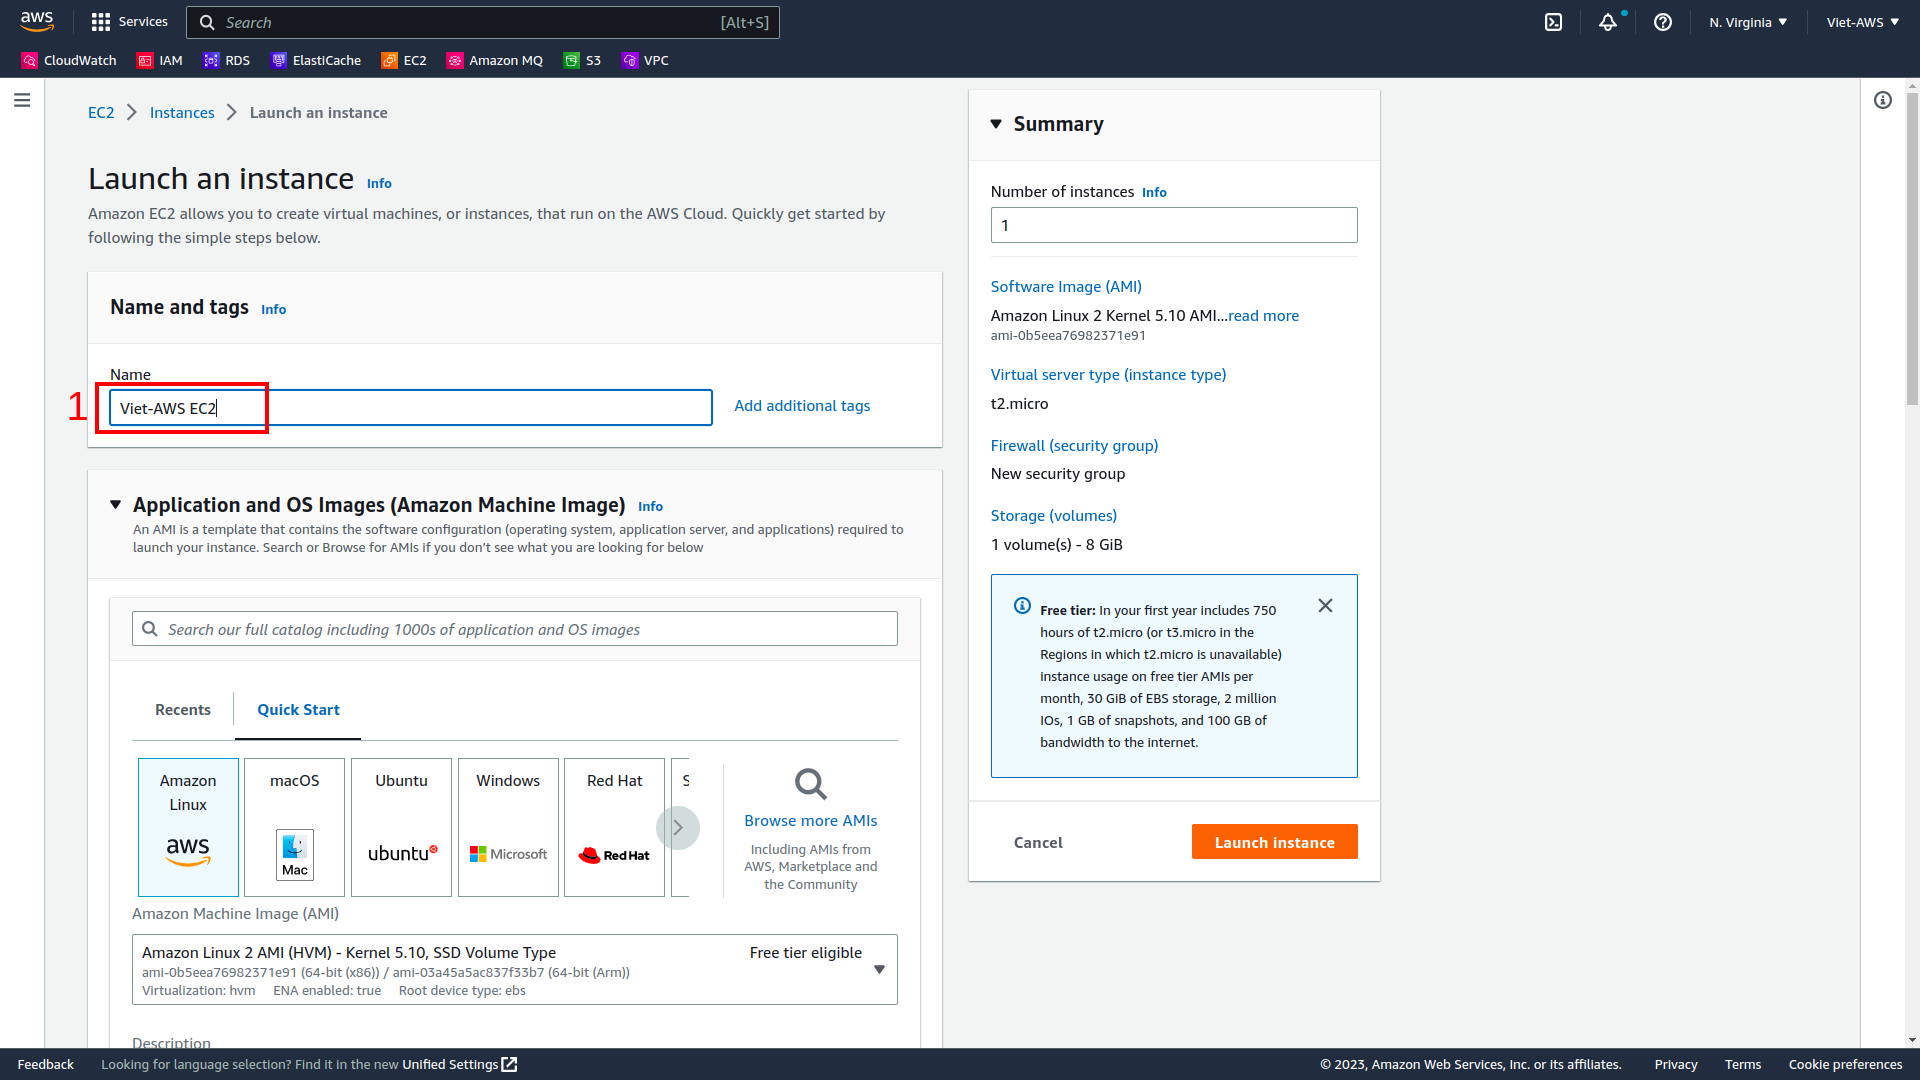
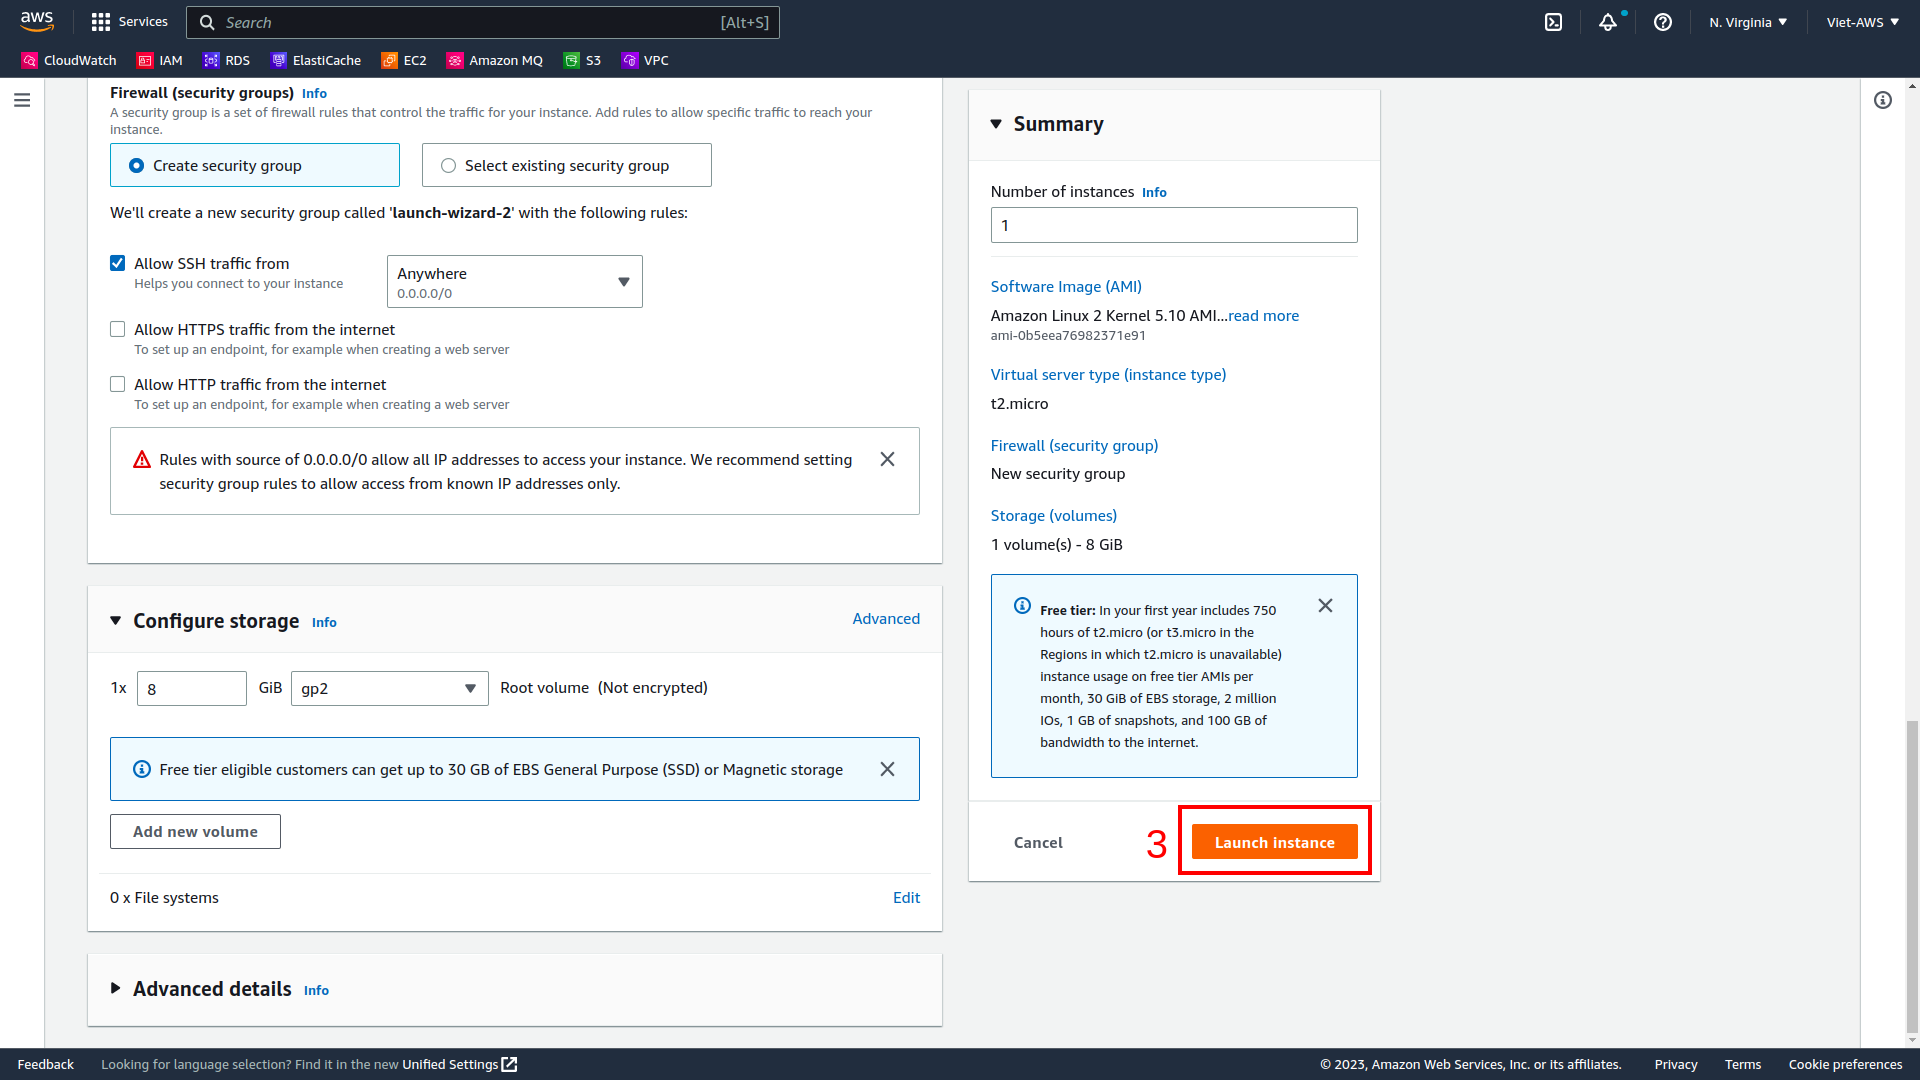
In the page, on the Launch instance panel, select Launch instance and Launch instance.

-
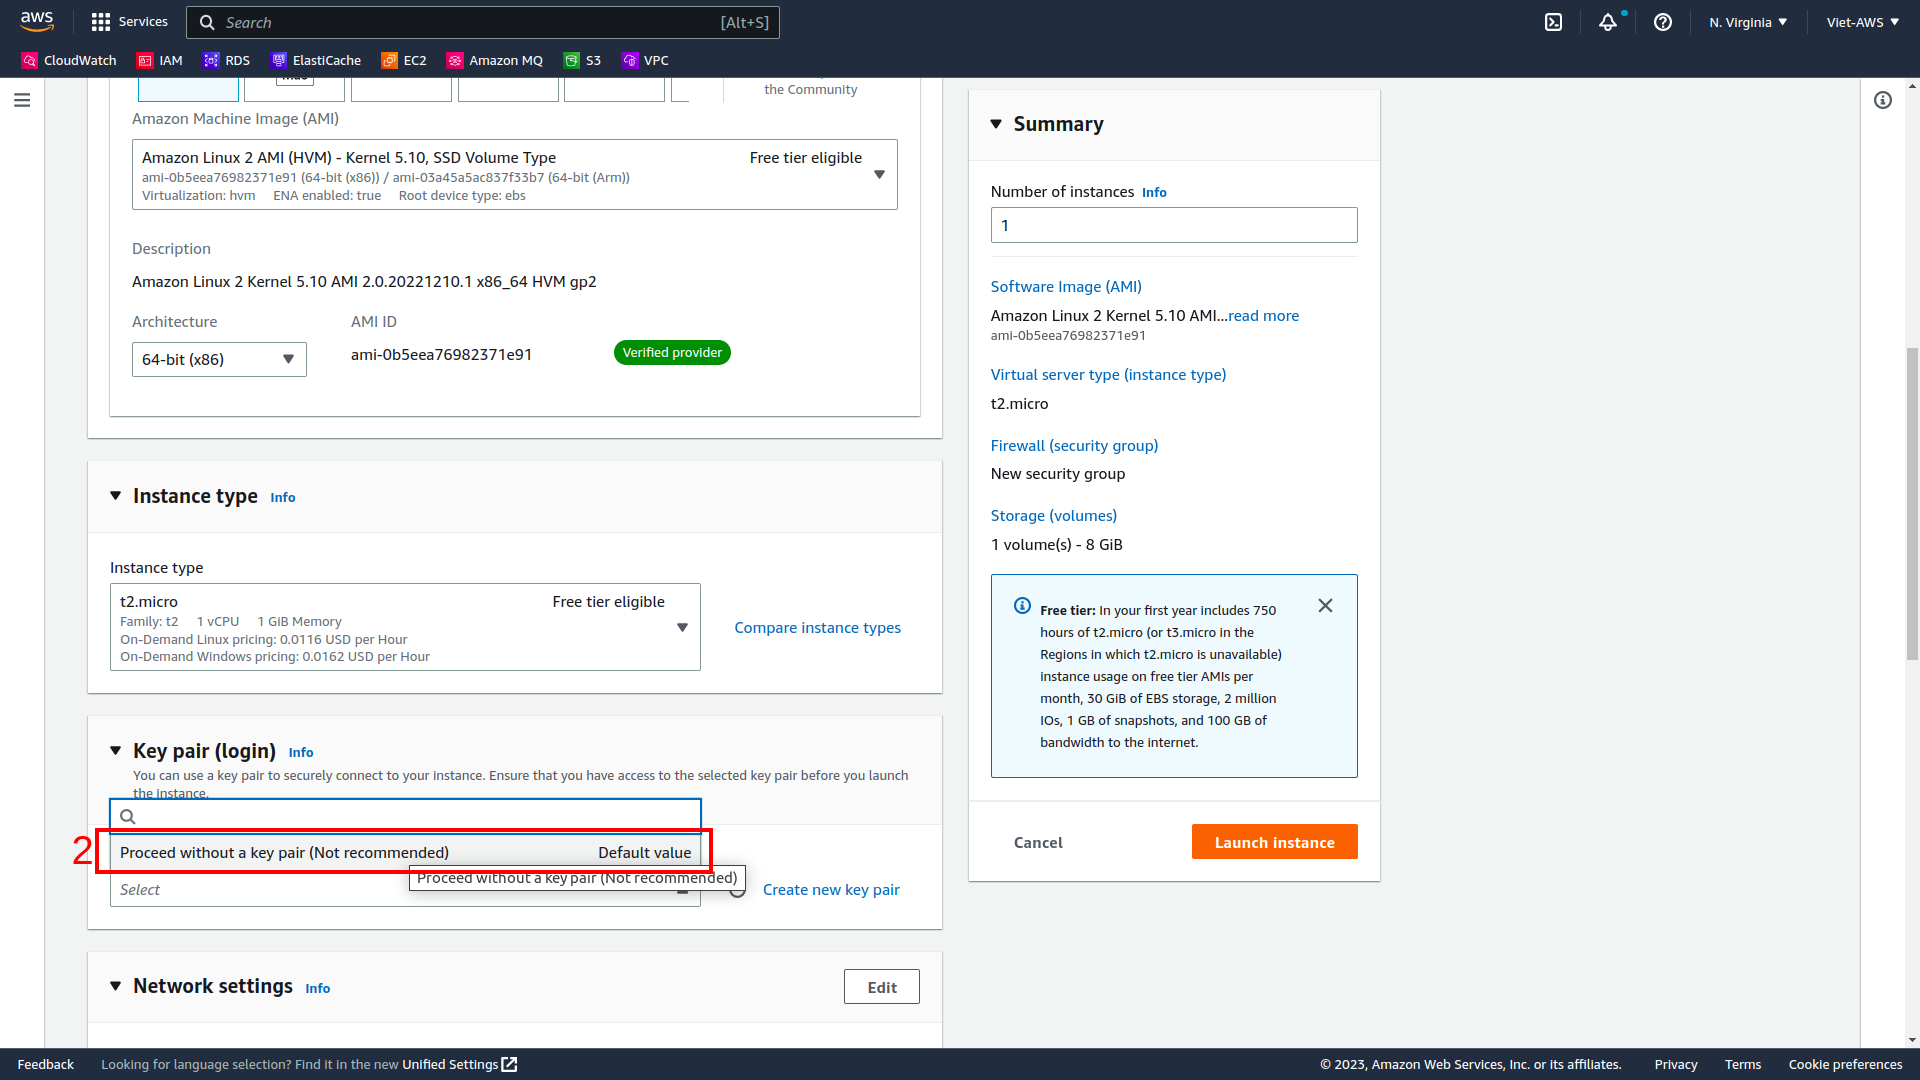
In this task, we only create an EC2 instance with minimum customize.
We need to focus only 2 field:
-
Tag Name
-
Process without keypair
Then select Launch instance.
-
Task 4: Create a S3 bucket
In this task, you need to create a S3 bucket to test permission of IAM User.
-
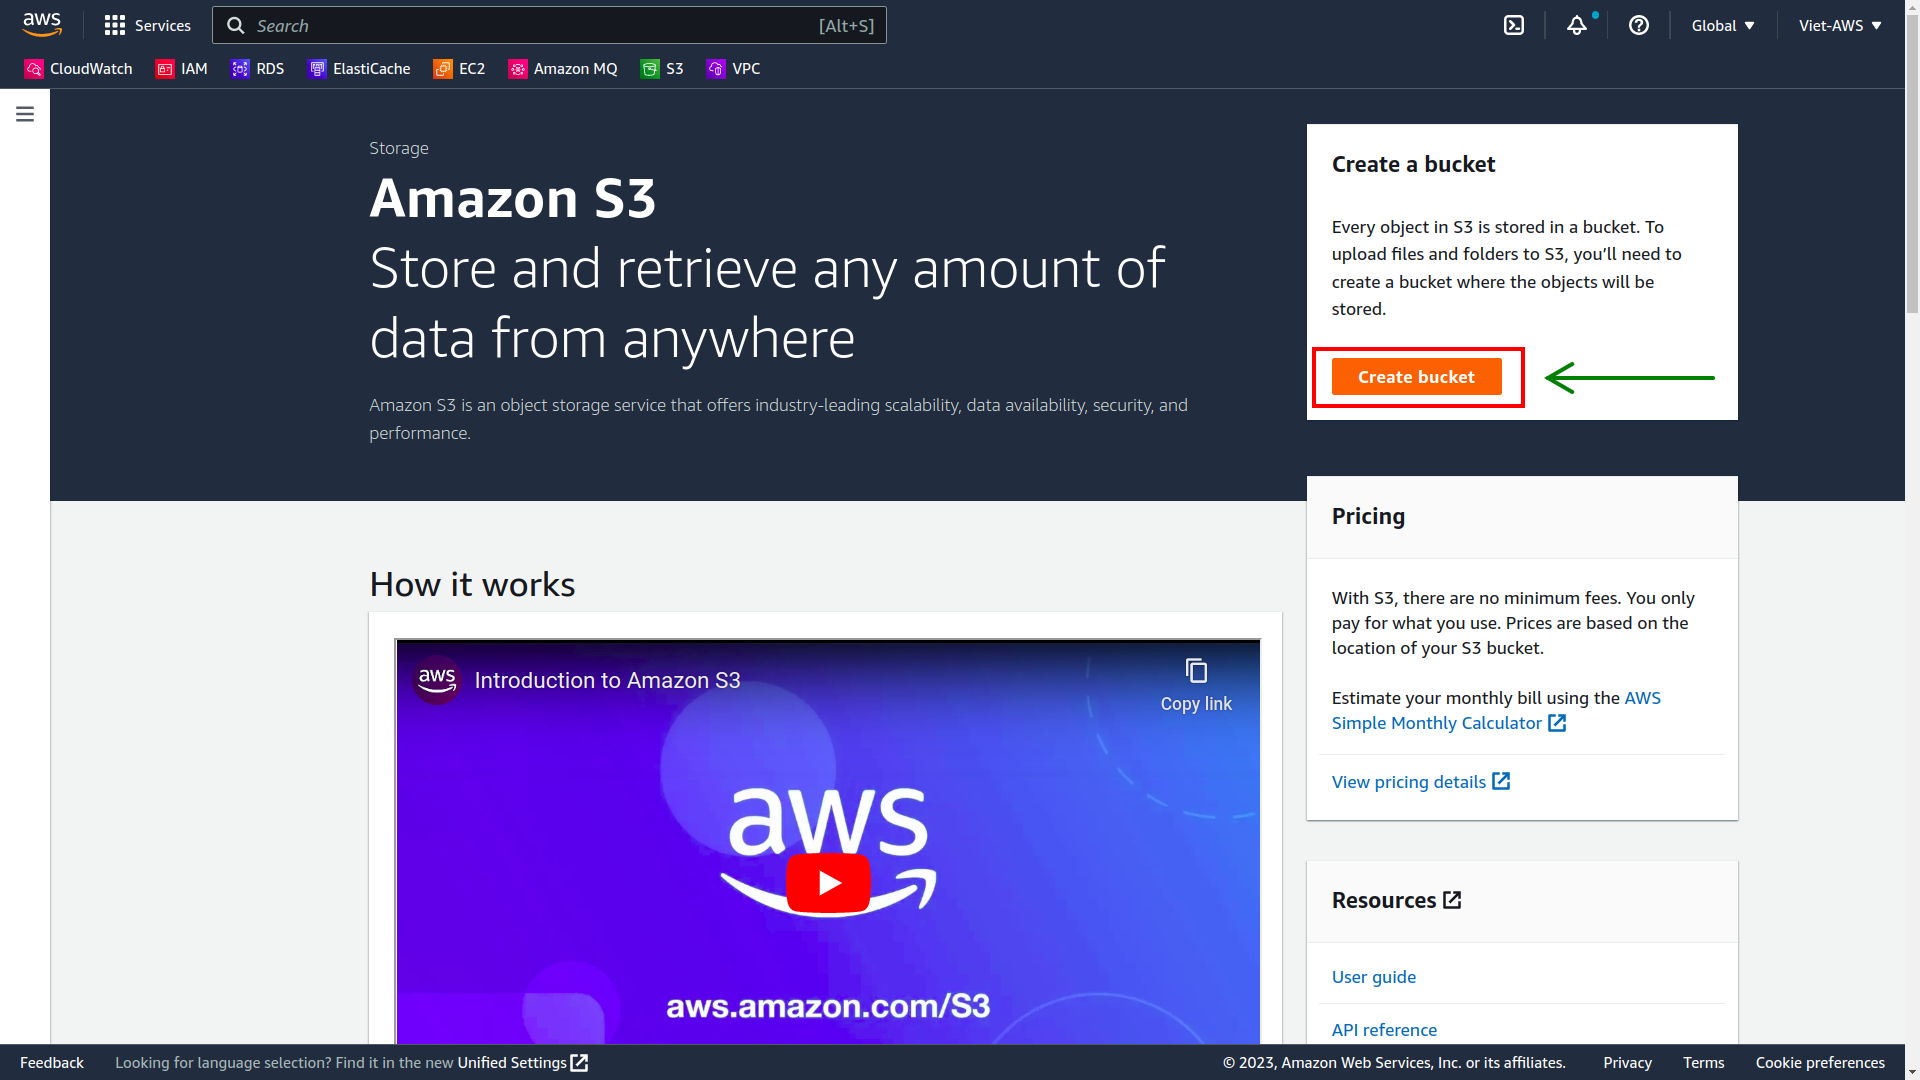
In the AWS Management Console, on the Services menu, select S3.
-
In the page, on the Create a bucket panel, select Create bucket.
-
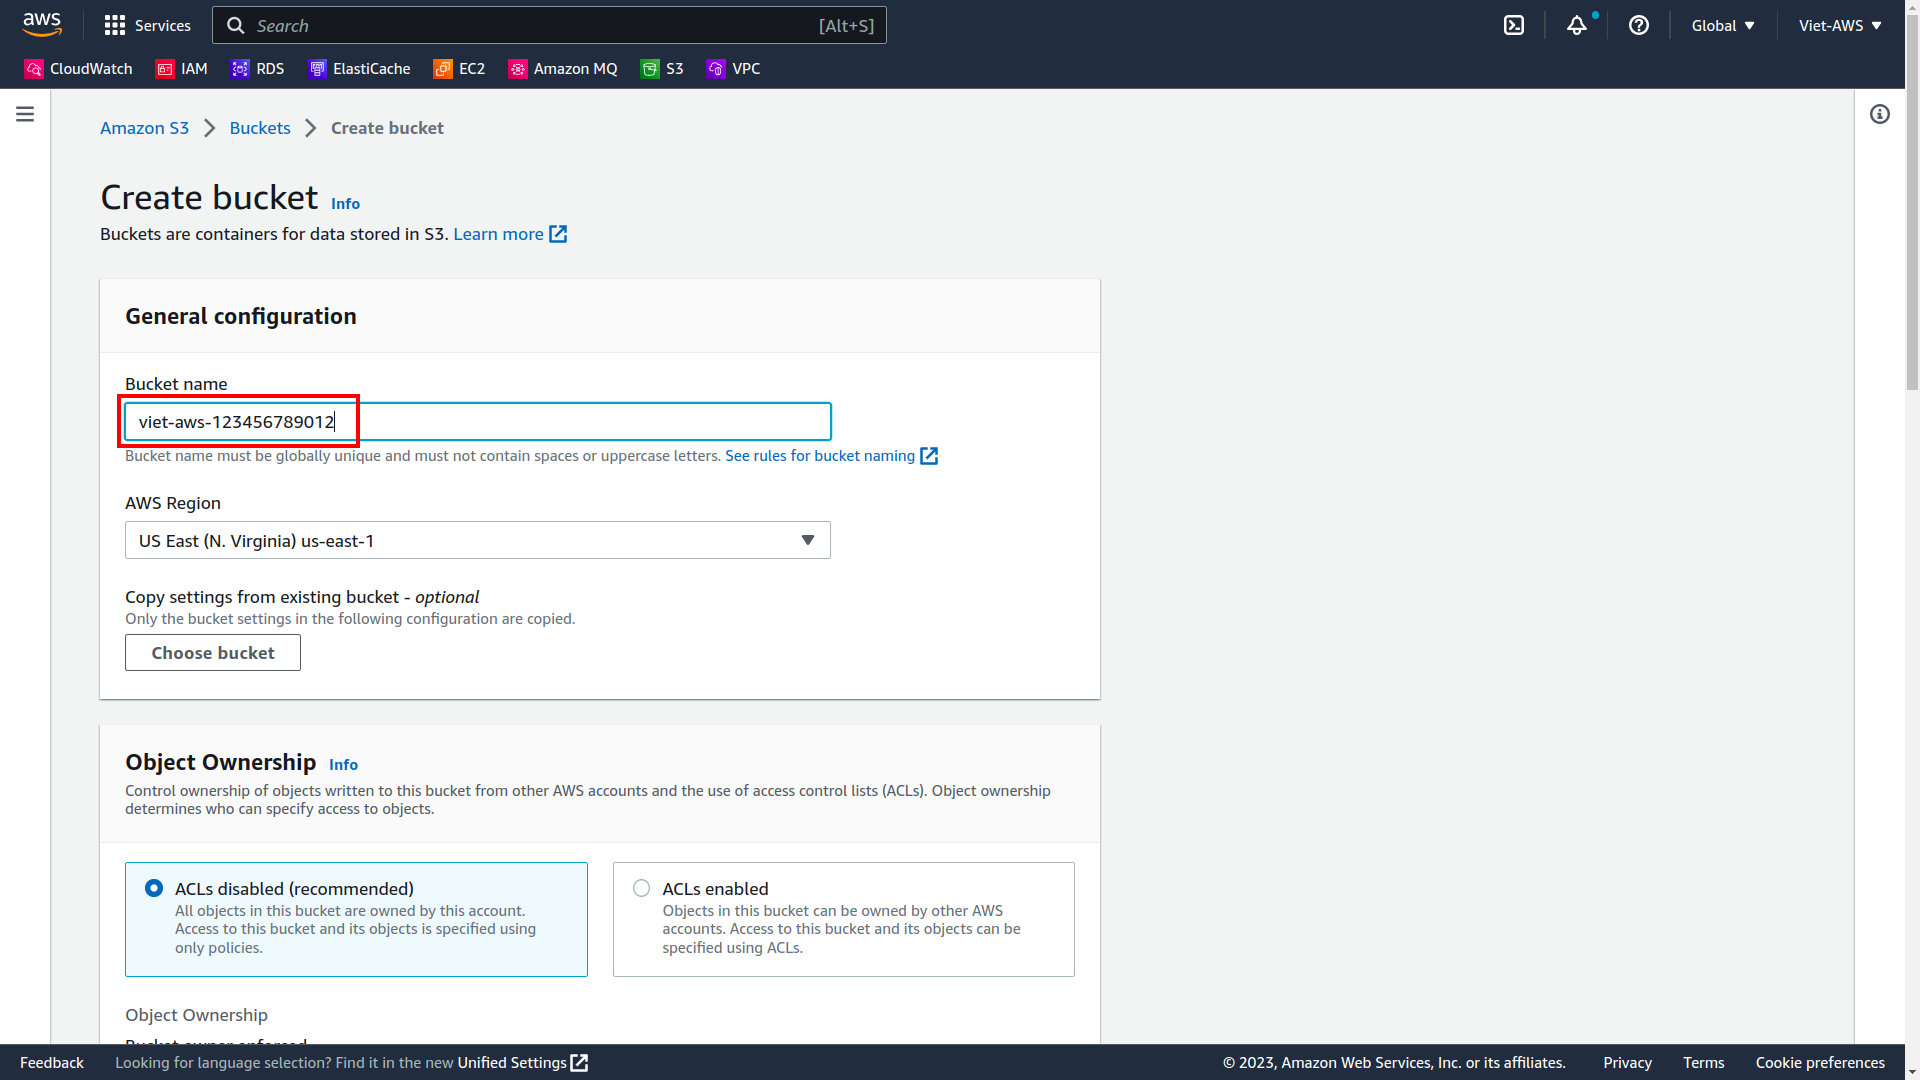
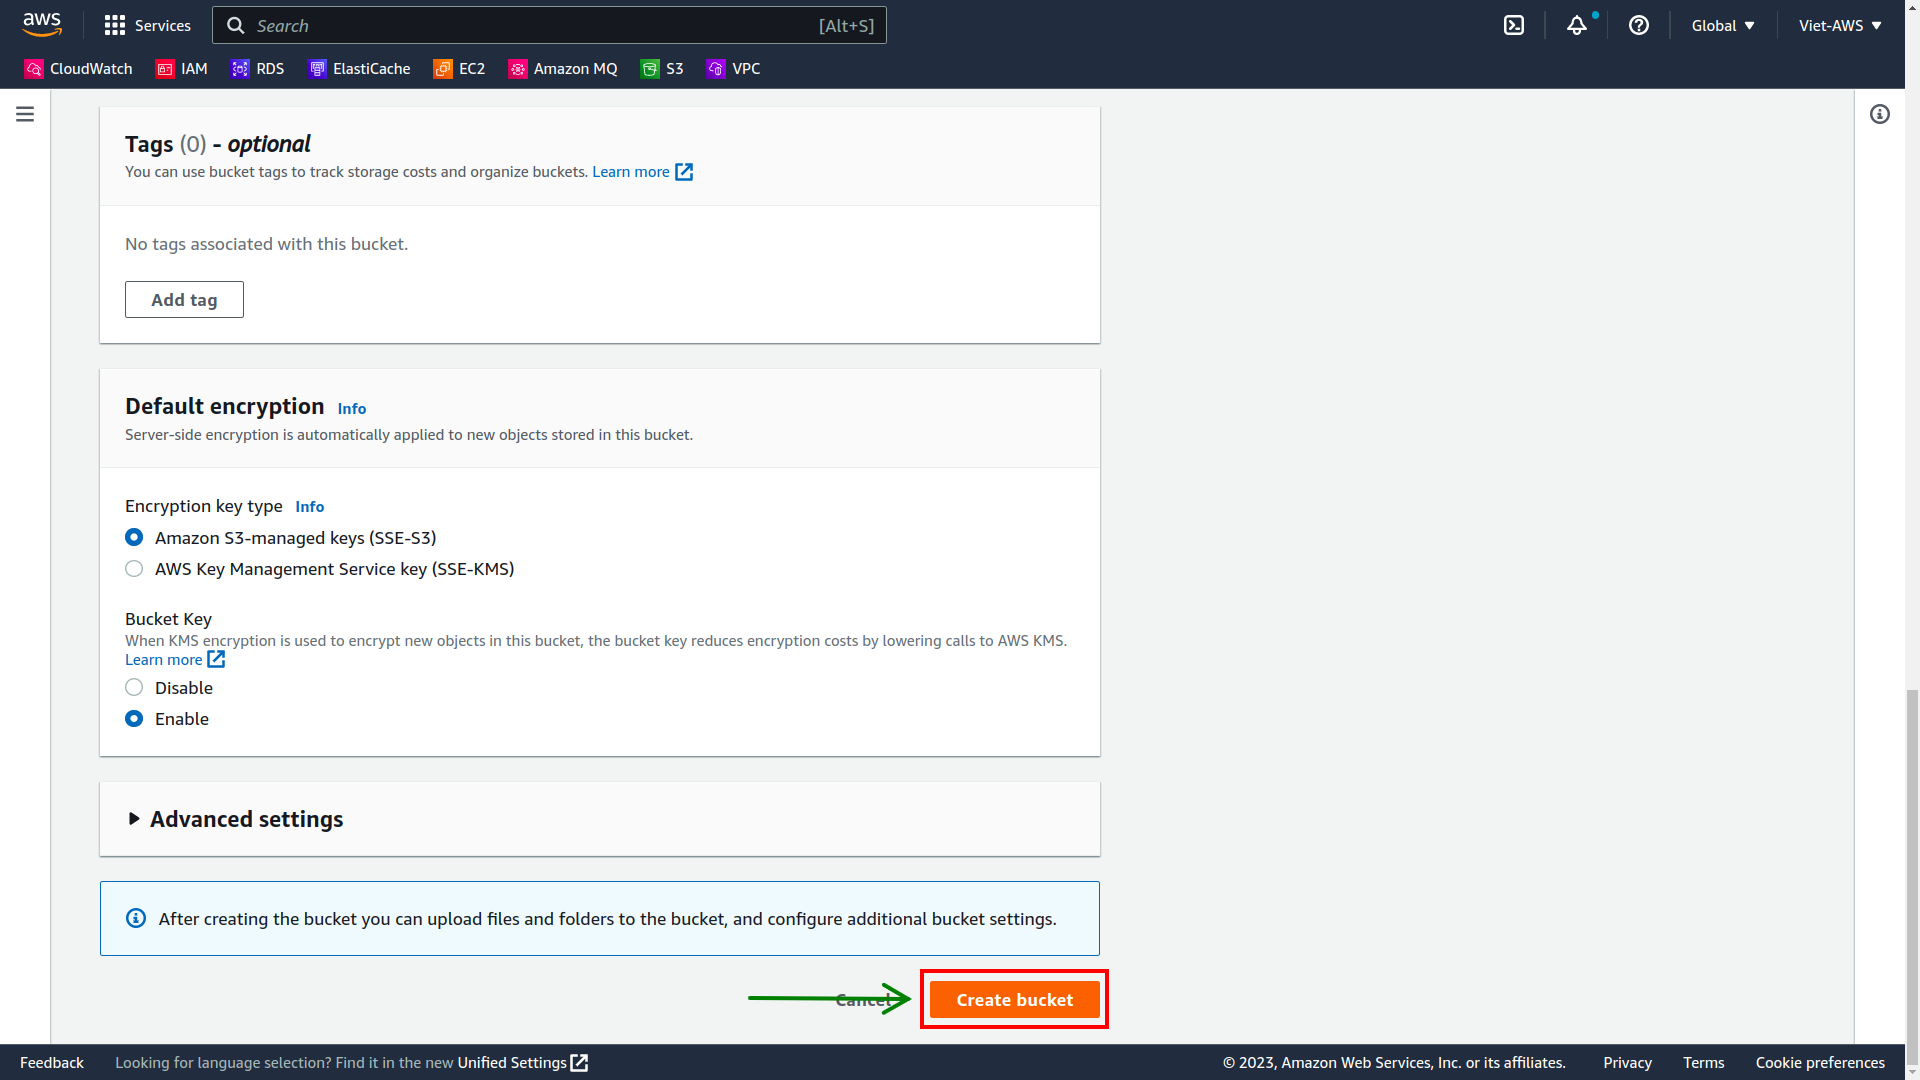
In this task, we only create a S3 bucket with minimum customize.
We need to focus only 1 field:
- Name of bucket
Then scroll down and select Create bucket.
Task 5: Sign-In and Test Users
In this task, you will test the permissions of each IAM User.
-
In the AWS Management Console, on the Services menu, select IAM.
-
In the navigation pane on the left, choose Dashboard.
An IAM users sign-in link is displayed on the right. It will look similar to: https://123456789012.signin.aws.amazon.com/console
This link can be used to sign-in to the AWS Account you are currently using.
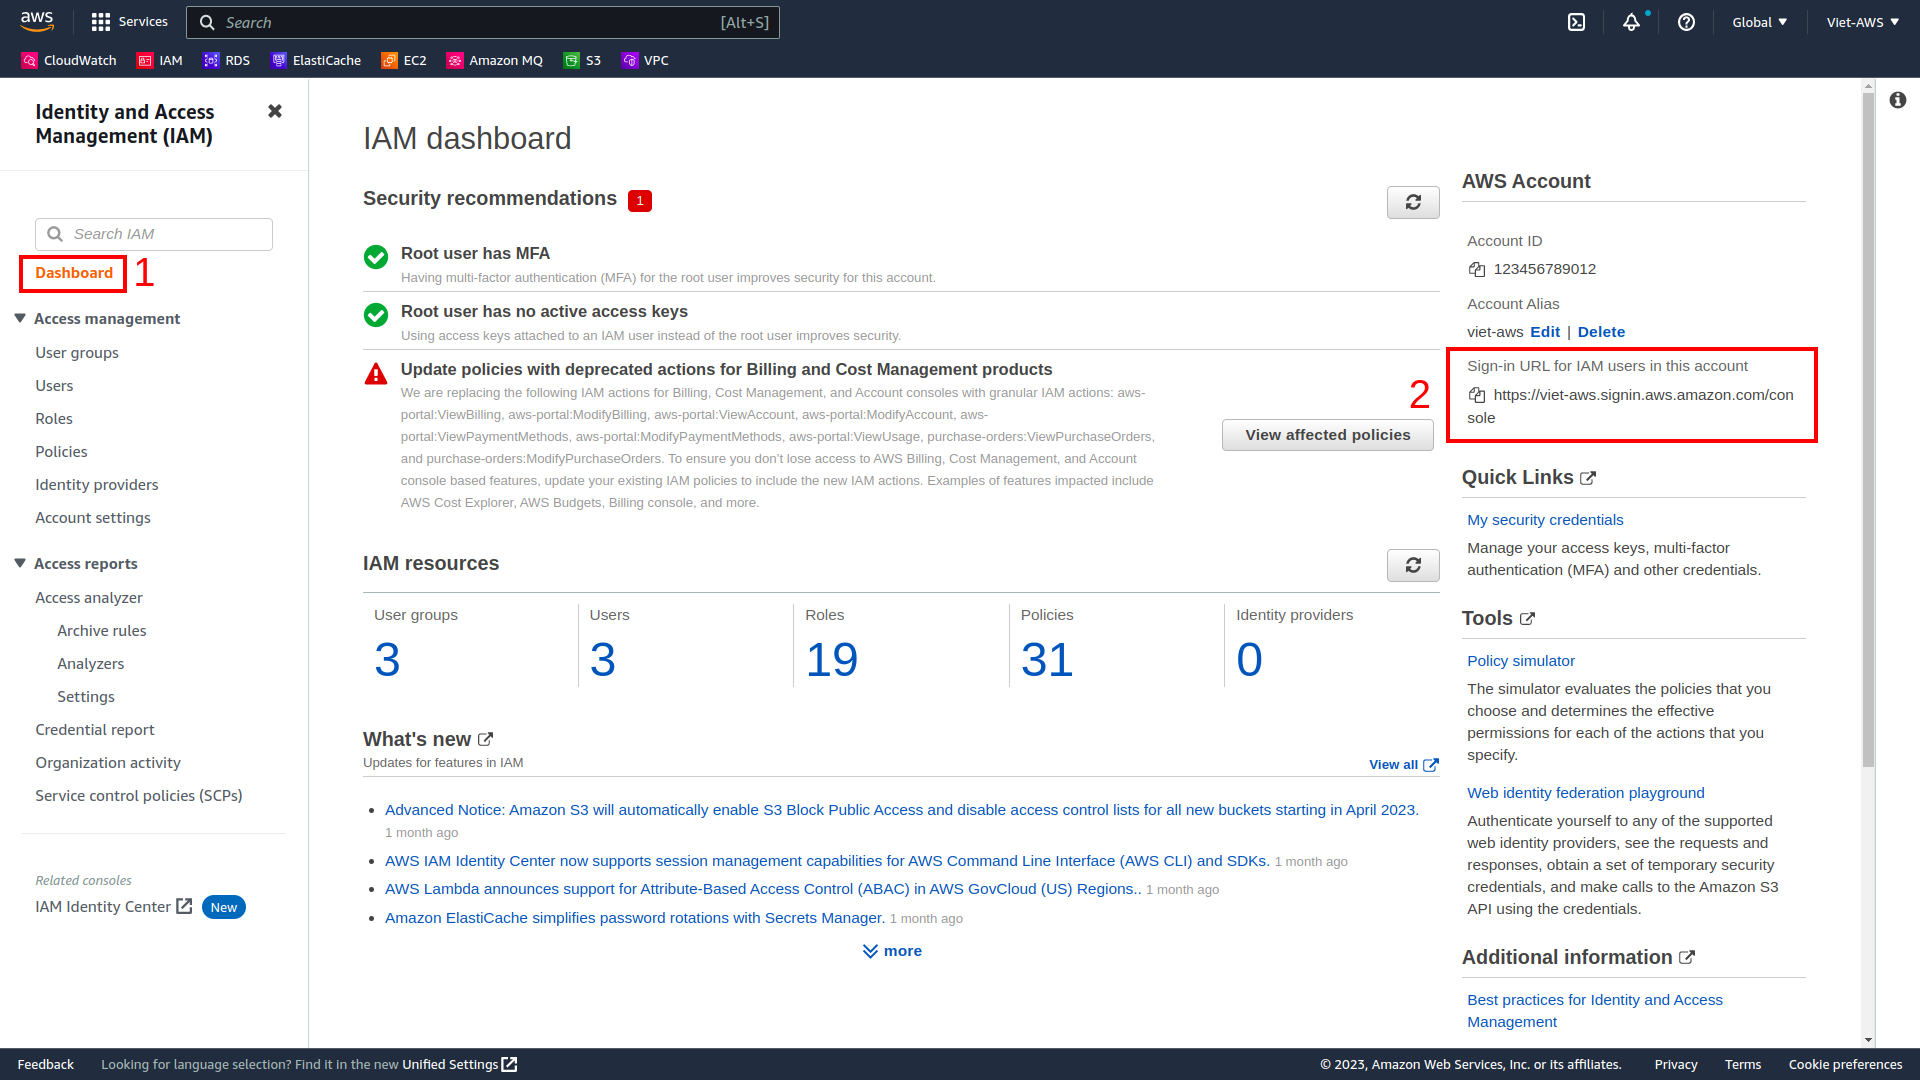
-
Copy the Sign-in URL for IAM users in this account.
-
Open a private (Incognito) window.
Mozilla Firefox
- Choose the menu bars at the top-right of the screen
- Select New private window
Google Chrome
- Choose the ellipsis at the top-right of the screen
- Select New Incognito Window
Microsoft Edge
- Choose the ellipsis at the top-right of the screen
- Choose New InPrivate window
Microsoft Internet Explorer
- Choose the Tools menu option
- Choose InPrivate Browsing
-
Paste the Sign-in URL for IAM users in this account link into the address bar of your private browser session and press Enter.
Next, you will sign-in as user-1, who has been hired as your Amazon S3 storage support staff.
-
Sign-in with:
-
IAM user name:
user-1 -
Password: Open file credential.csv which downloaded.
-
-
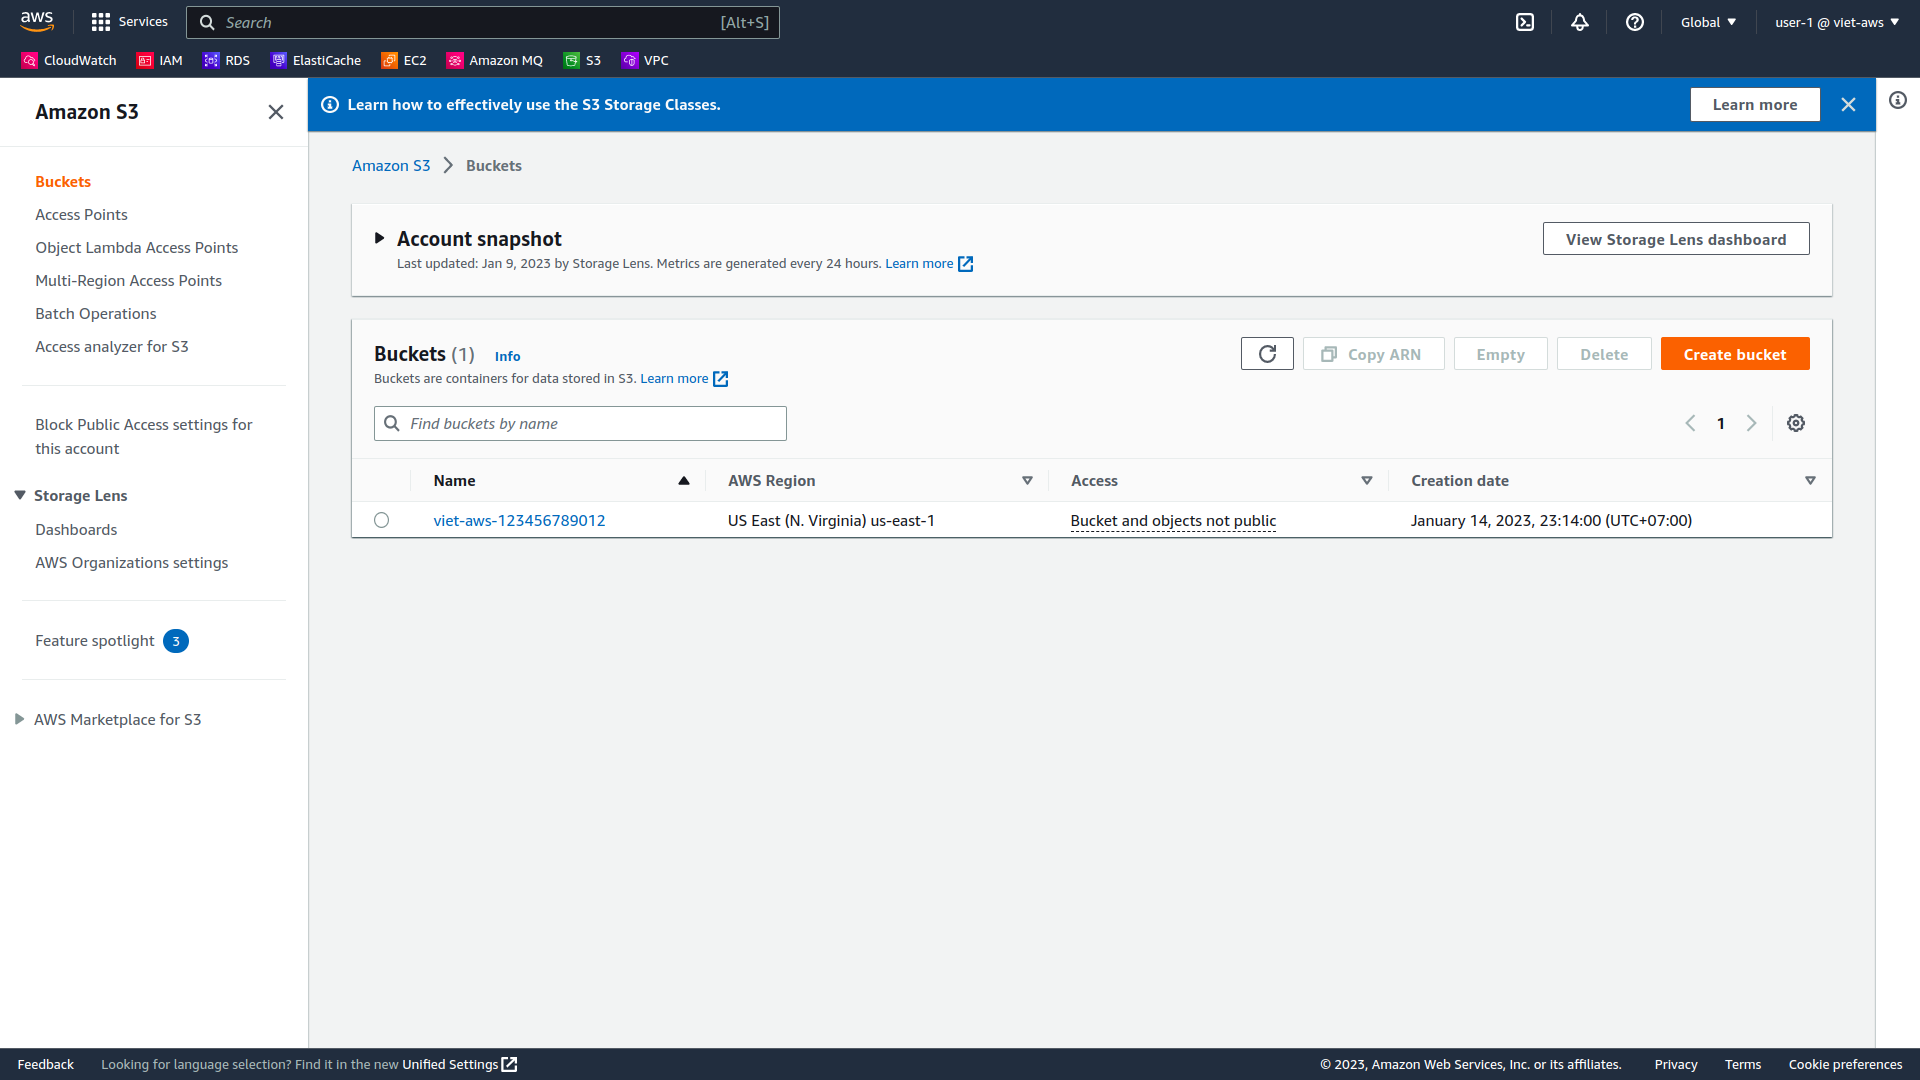
In the Services menu, choose S3.
-
Choose the name of the bucket that exists in the account and browse the contents.
Since your user is part of the S3-Support Group in IAM, they have permission to view a list of Amazon S3 buckets and the contents.
Note: The bucket does not contain any objects.
Now, test whether they have access to Amazon EC2.
-
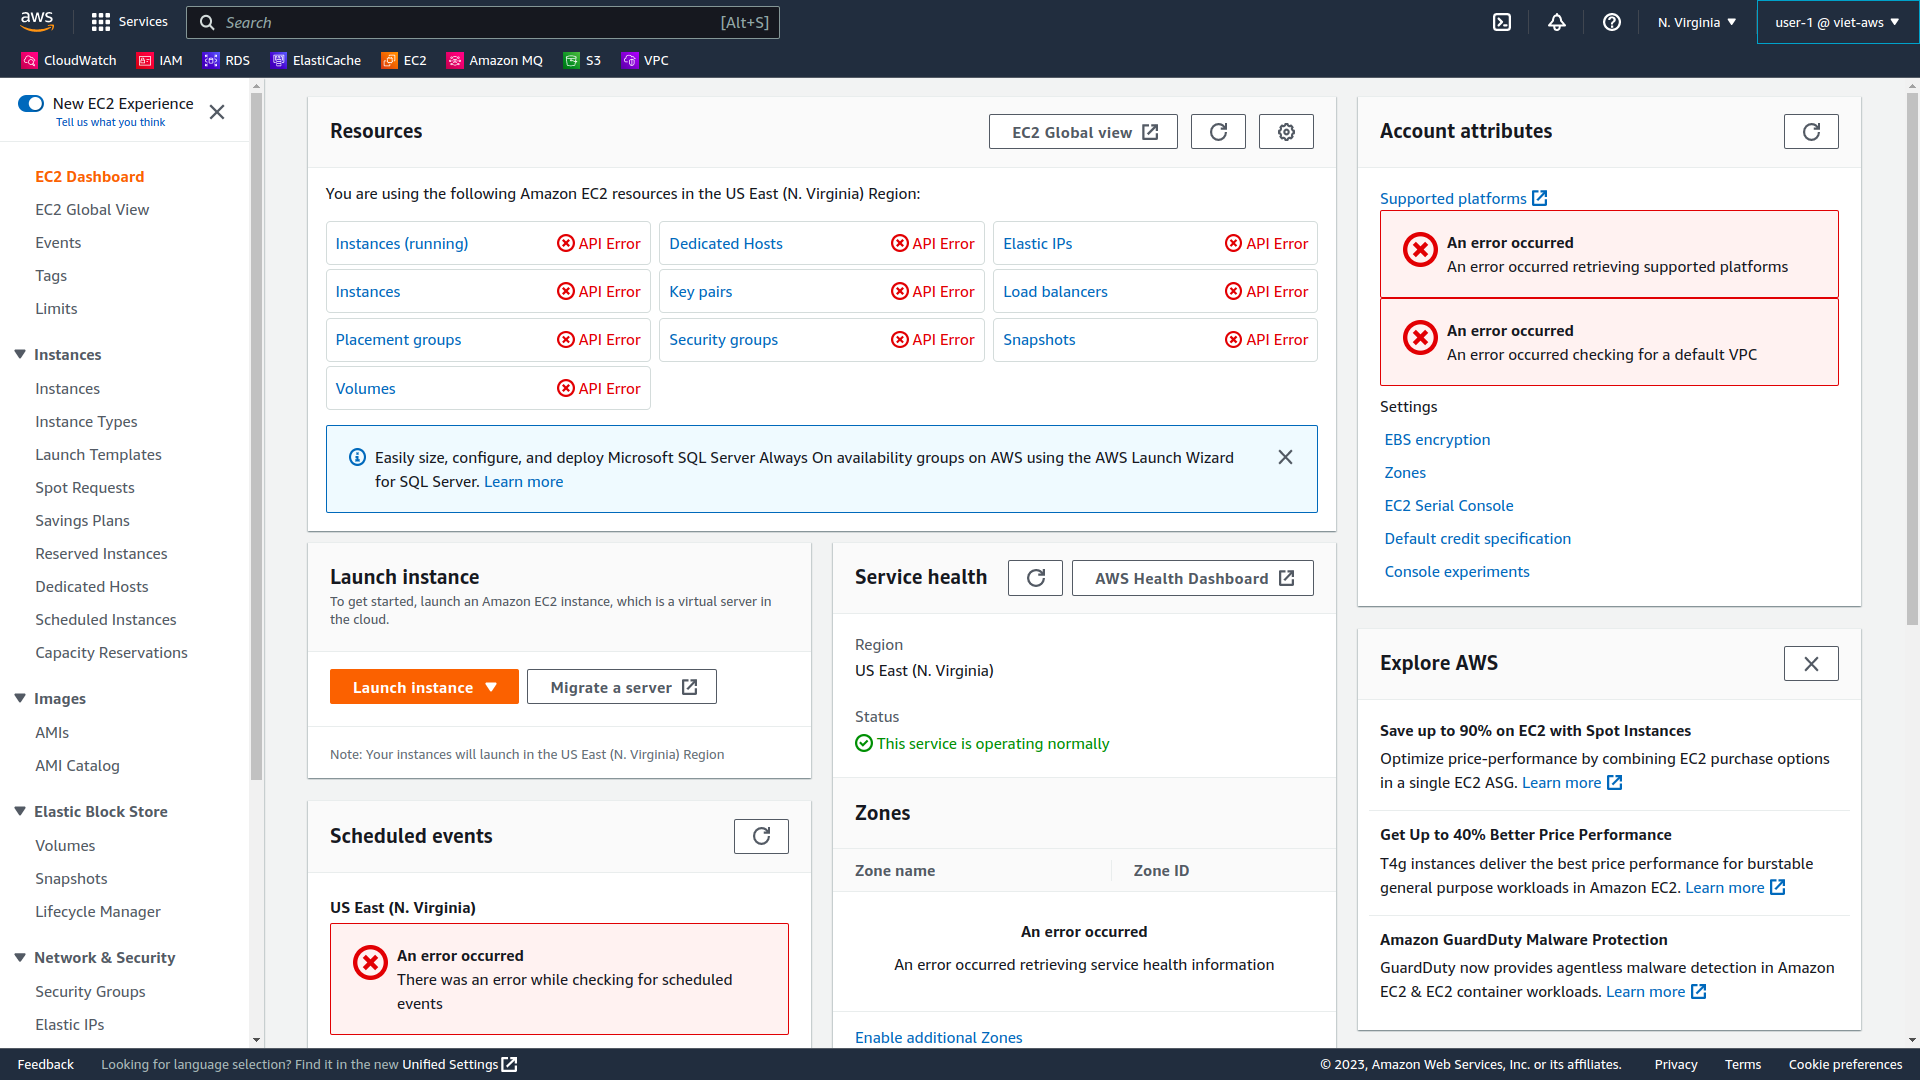
In the Services menu, choose EC2.
-
In the left navigation pane, choose Instances.
You cannot see any instances. Instead, you see a message that states You are not authorized to perform this operation. This is because this user has not been granted any permissions to access Amazon EC2.
You will now sign-in as user-2, who has been hired as your Amazon EC2 support person.
-
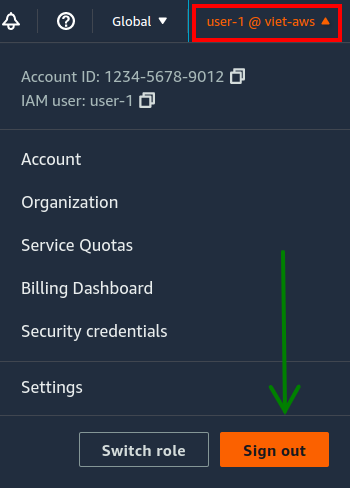
Sign user-1 out of the AWS Management Console by completing the following actions:
-
At the top of the screen, choose user-1
-
Choose Sign Out
-
-
Paste the IAM users sign-in link into your private browser tab’s address bar and press Enter.
-
Sign-in with:
-
IAM user name:
user-2 -
Password: Open file credential.csv which downloaded.
-
-
In the Services menu, choose EC2.
-
In the navigation pane on the left, choose Instances.
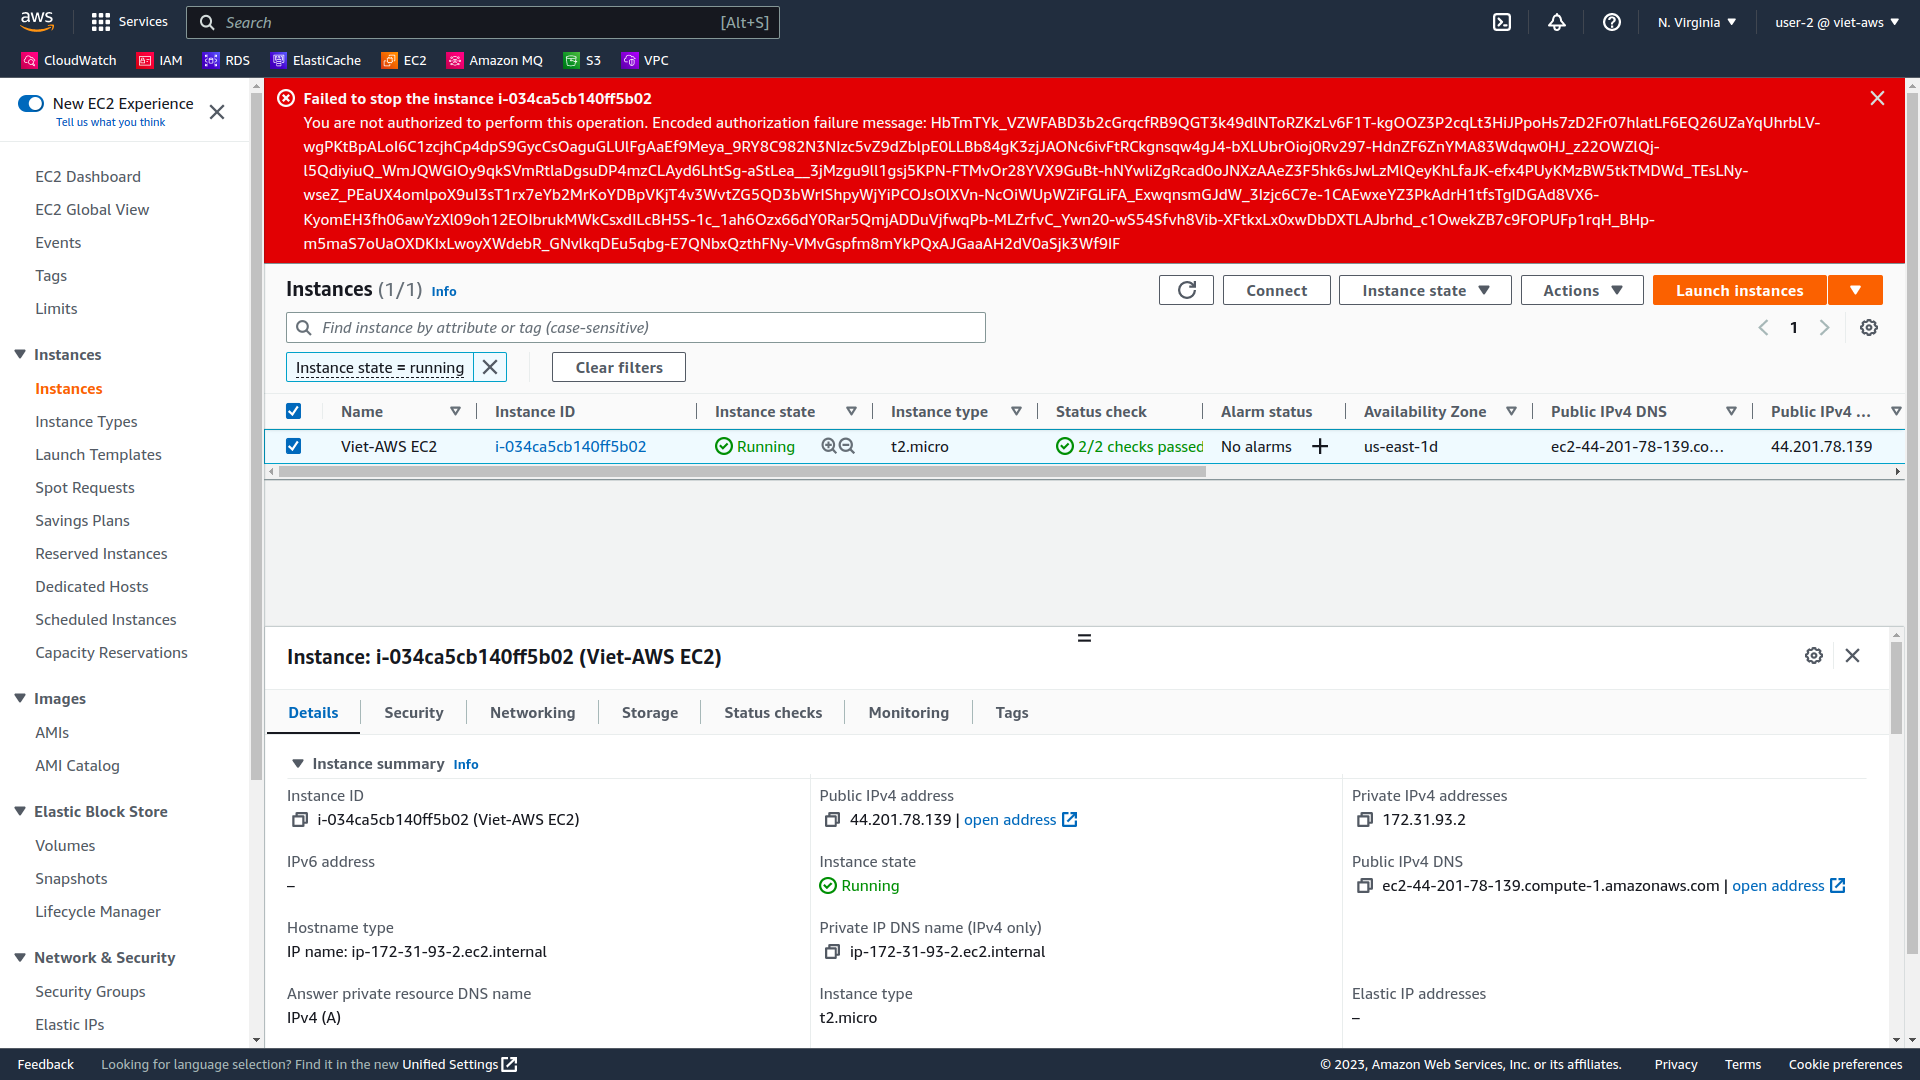
You are now able to see an Amazon EC2 instance because you have Read Only permissions. However, you will not be able to make any changes to Amazon EC2 resources.
If you cannot see an Amazon EC2 instance, then your Region may be incorrect. In the top-right of the screen, pull-down the Region menu and select the region that you noted at the start of the lab (for example, N. Virginia).
-
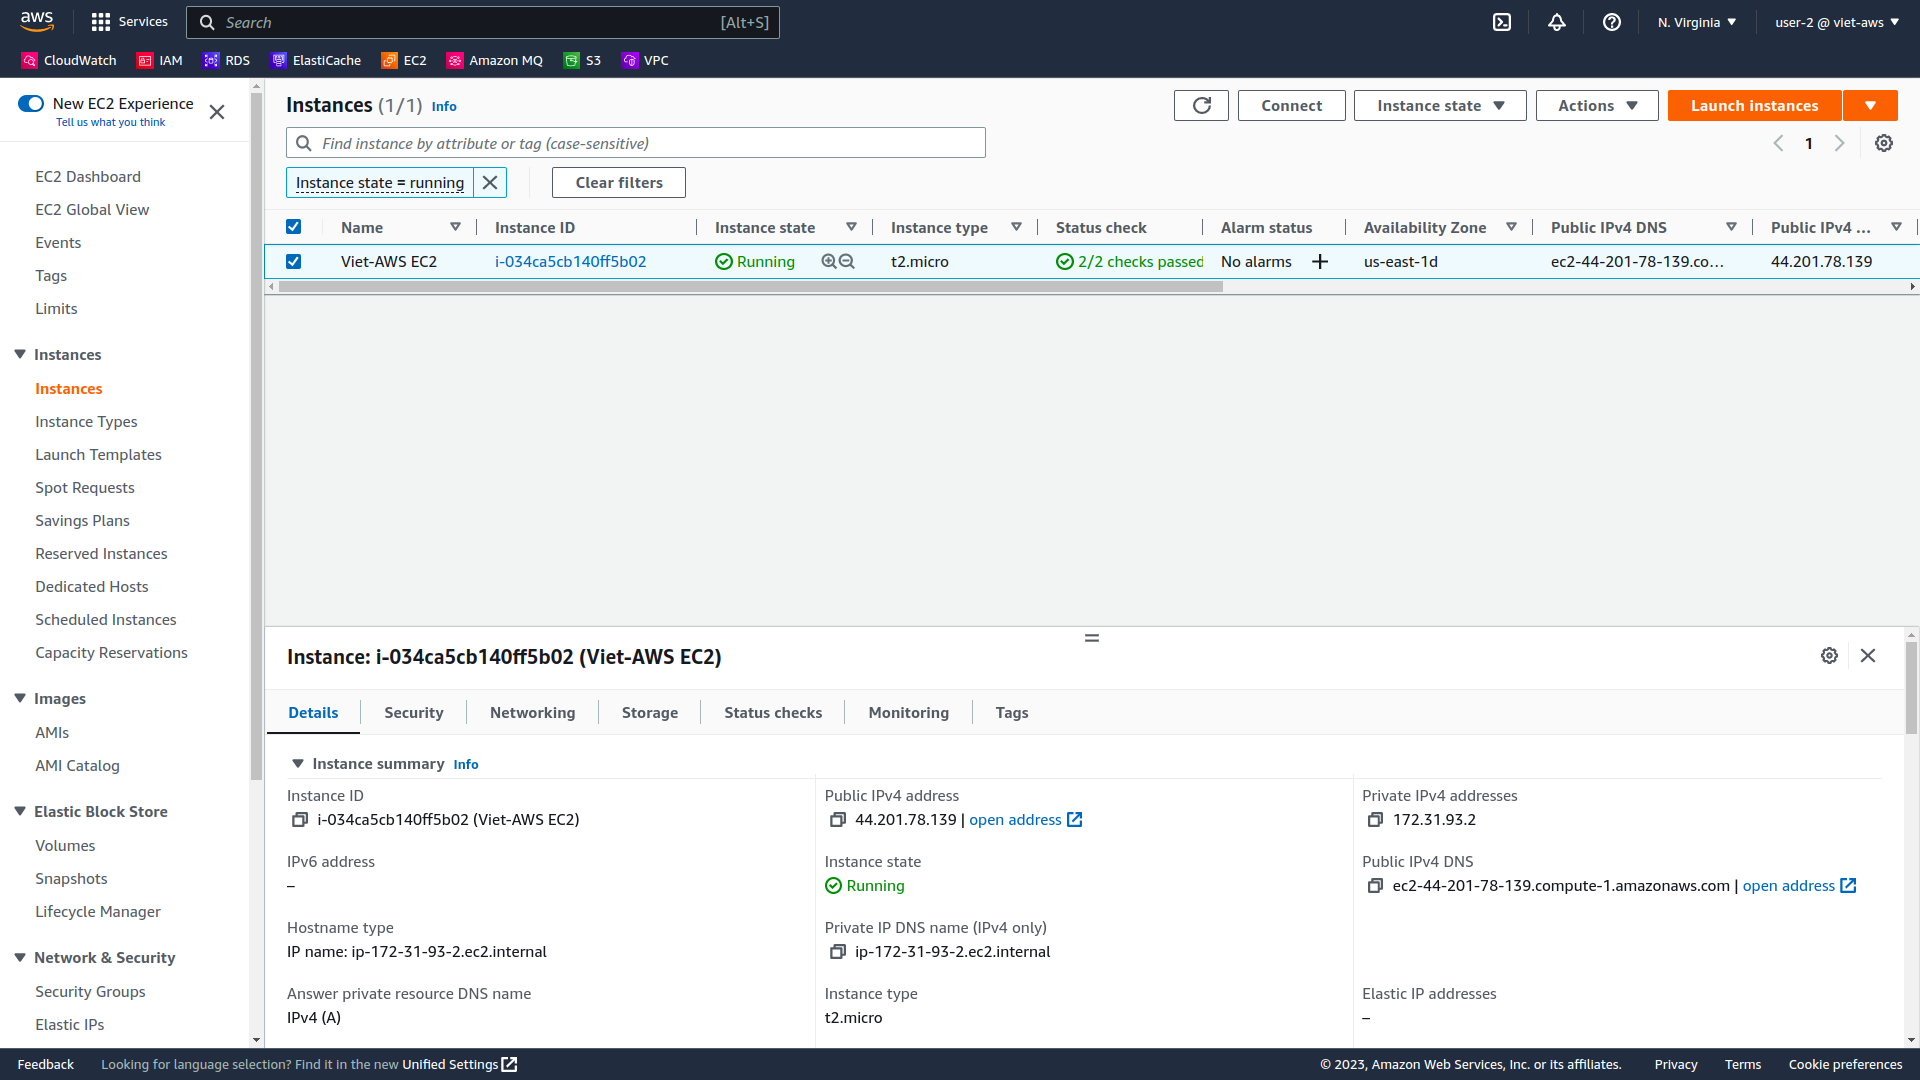
Select the instance named Viet-AWS EC2. In the Instance state menu above, select Stop instance.
-
In the Stop Instance window, select Stop.
You will receive an error stating You are not authorized to perform this operation. This demonstrates that the policy only allows you to view information, without making changes.
-
Choose the X to close the Failed to stop the instance message.
Next, check if user-2 can access Amazon S3.
-
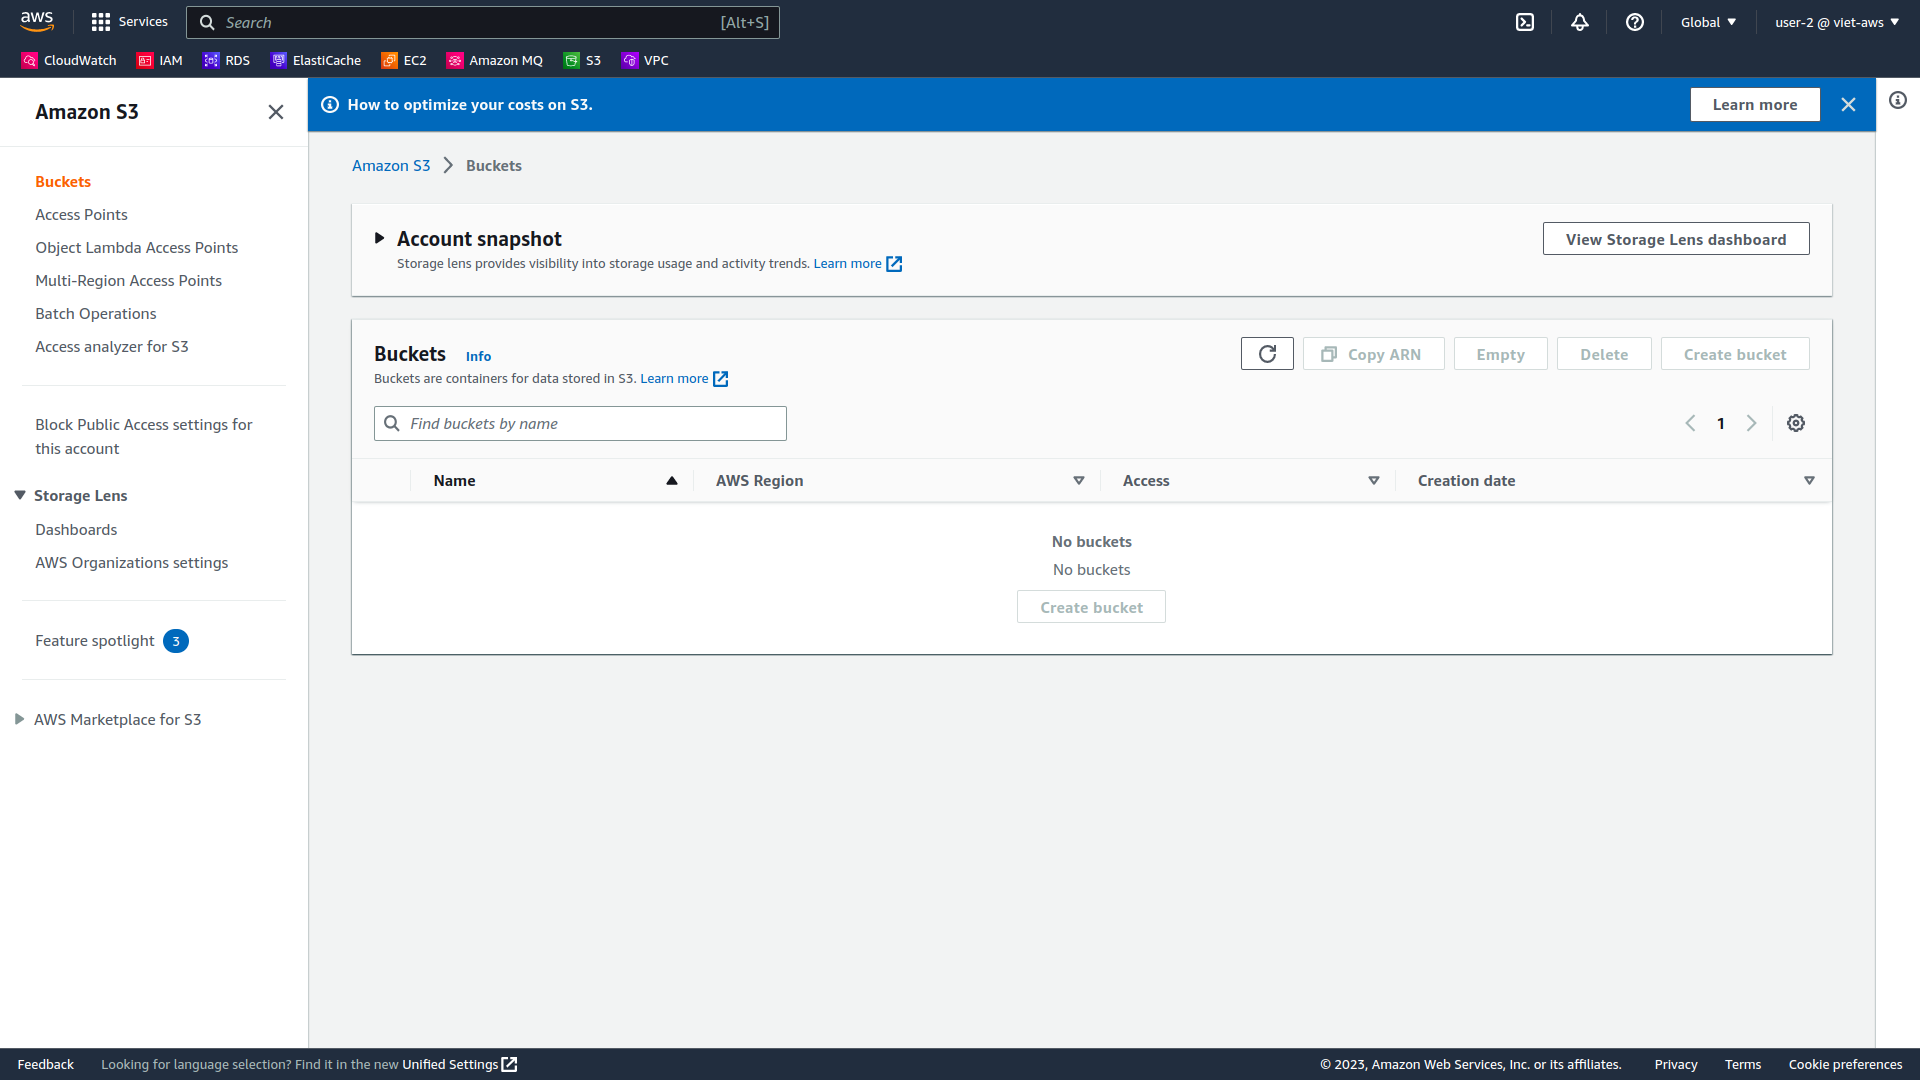
In the Services, choose S3.
You don’t see any buckets although you pre-created because user-2 does not have permission to access Amazon S3.
You will now sign-in as user-3, who has been hired as your Amazon EC2 administrator.
-
Sign user-2 out of the AWS Management Console by completing the following actions:
-
At the top of the screen, choose user-2
-
Choose Sign Out
-
-
Paste the IAM users sign-in link into your private window and press Enter.
-
Sign-in with:
-
IAM user name:
user-3 -
Password: Open file credential.csv which downloaded.
-
-
In the Services menu, choose EC2.
-
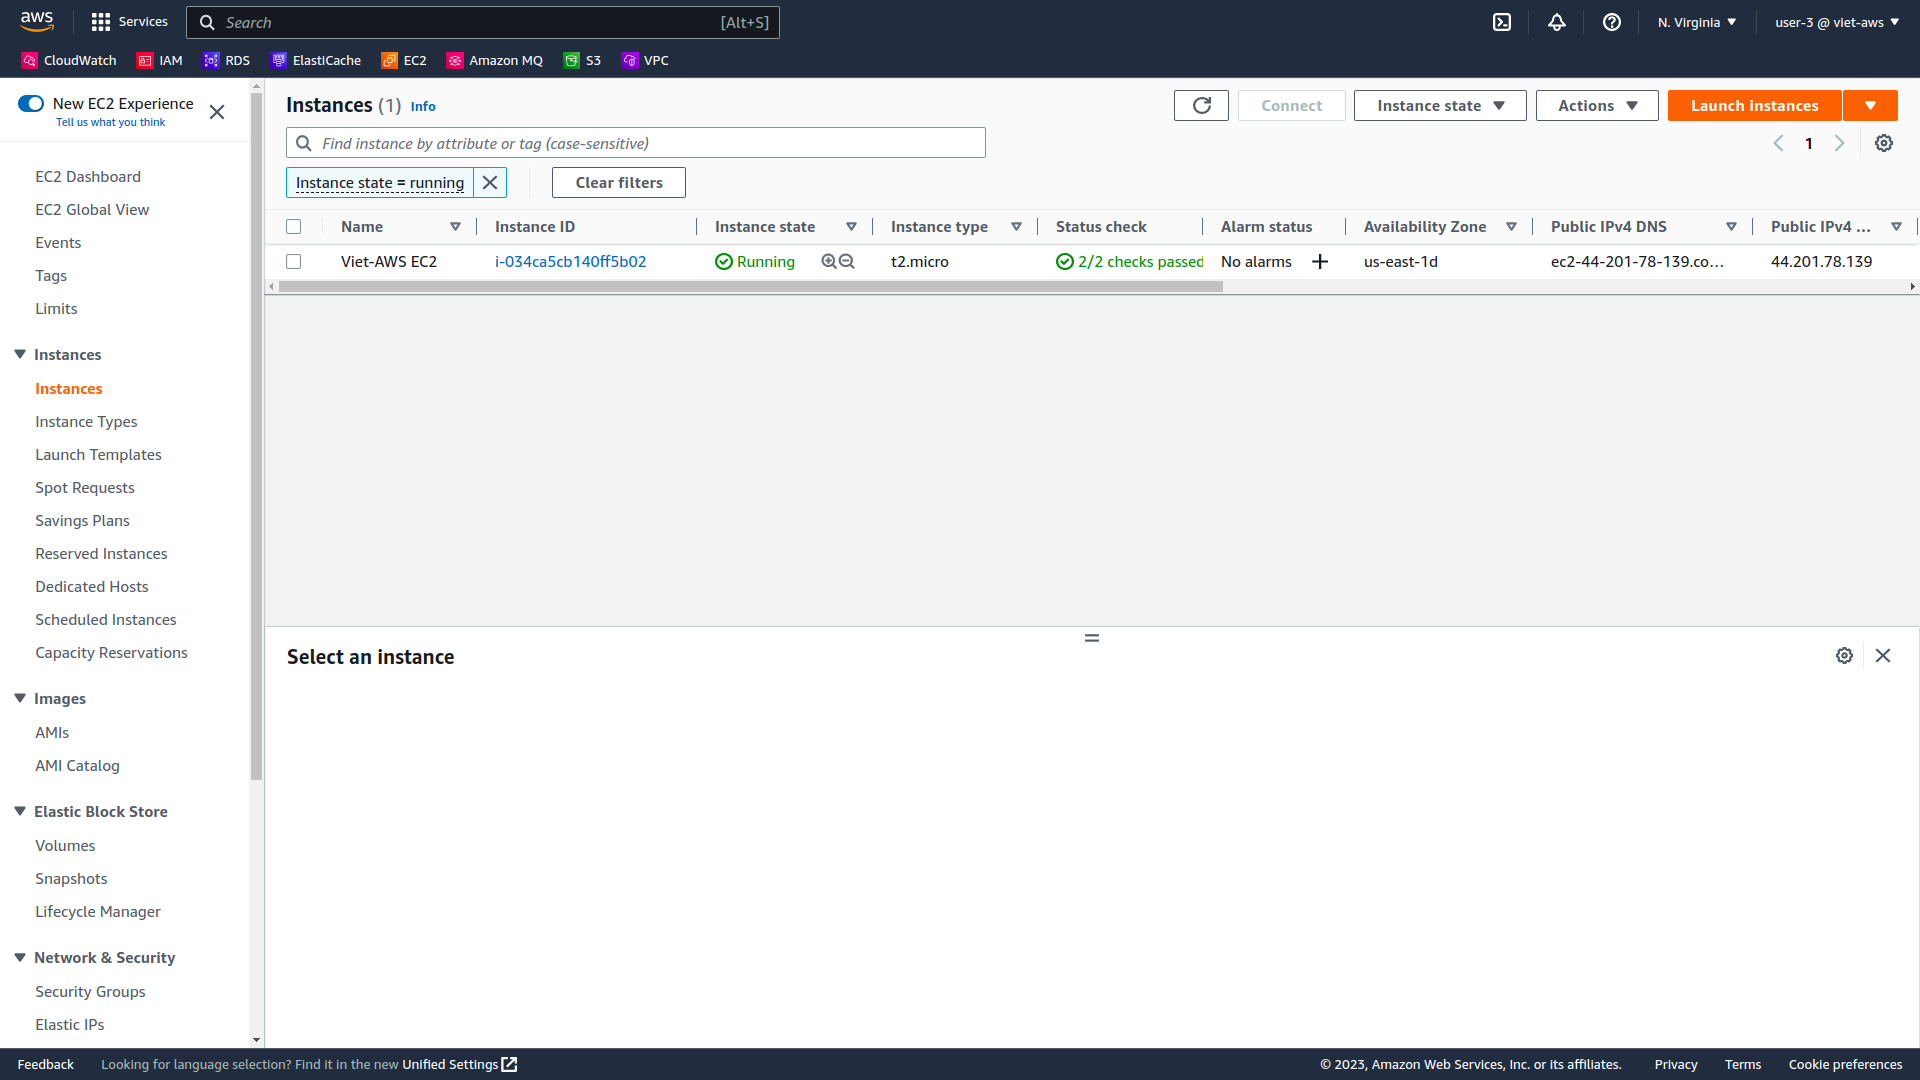
In the navigation pane on the left, choose Instances.
As an EC2 Administrator, you should now have permissions to Stop the Amazon EC2 instance.
Select the instance named Viet-AWS EC2 .
If you cannot see an Amazon EC2 instance, then your Region may be incorrect. In the top-right of the screen, pull-down the Region menu and select the region that you noted at the start of the lab (for example, N. Virginia).
-
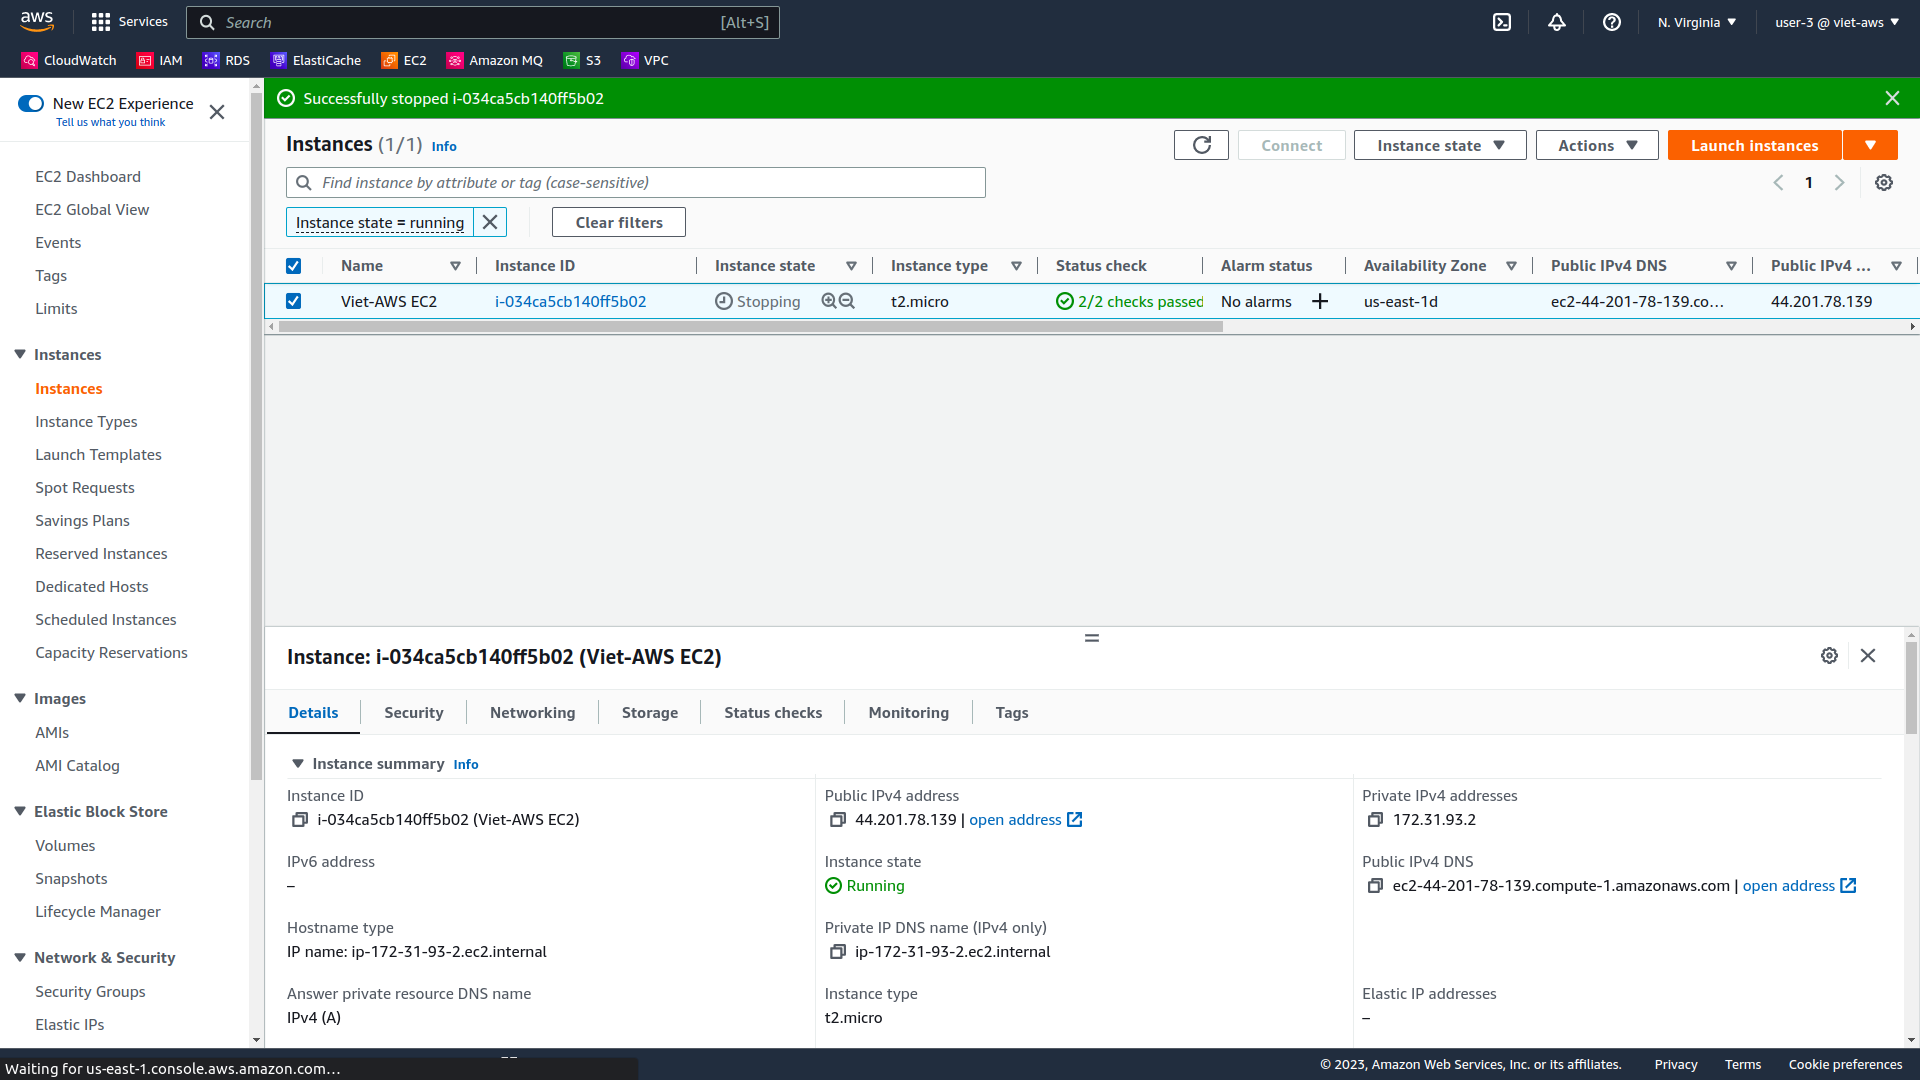
In the Instance state menu, choose Stop instance.
-
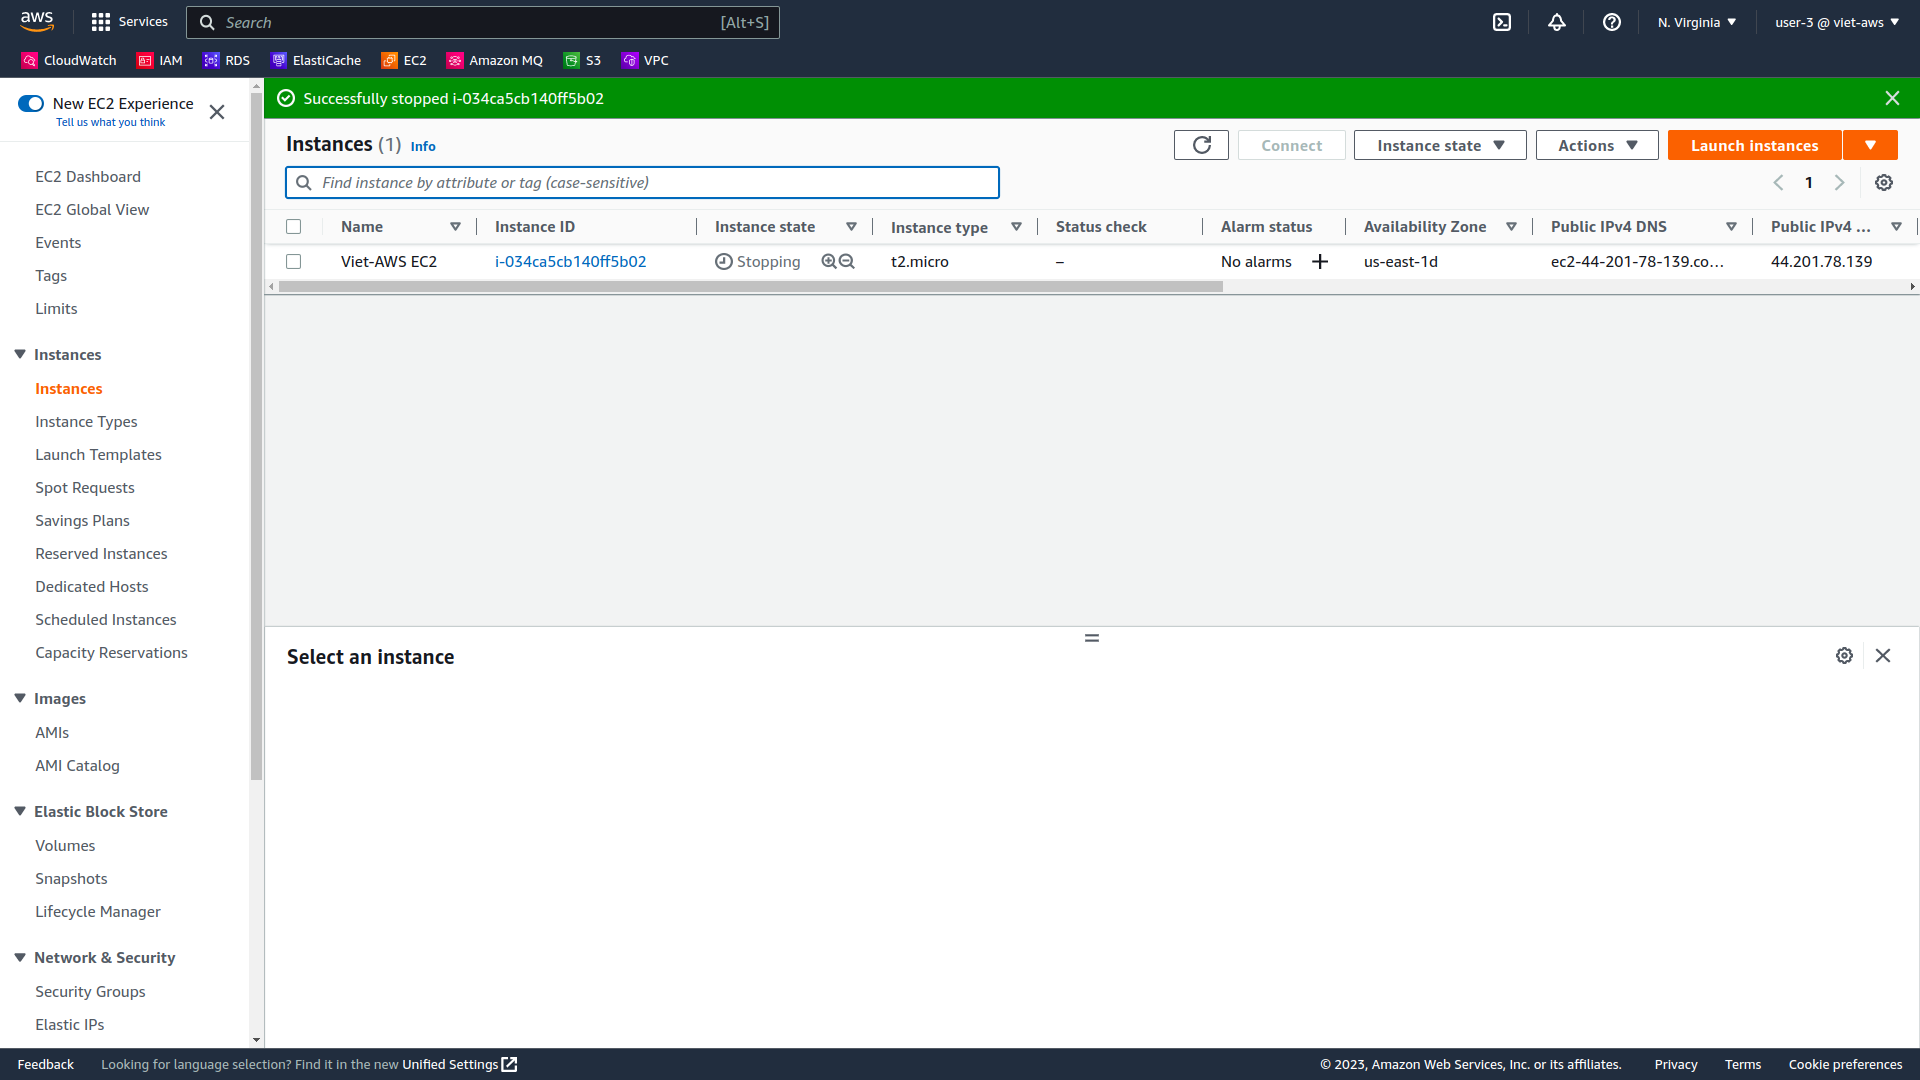
In the Stop instance window, choose Stop.
The instance will enter the stopping state and will shutdown.
-
In the Services menu, choose S3.
-
You don’t see any buckets although you pre-created because user-2 does not have permission to access Amazon S3.

- Close your private browser window.
Lab complete
Congratulations! You have completed the lab.
Summary
Congratulations! You now have successfully:
- Exploring IAM Users and Groups
- Inspecting IAM policies and attach to the created groups
- Following a real-world scenario, adding users to groups with specific capabilities enabled
- Locating and using the IAM sign-in URL
- Experimenting with the effects of policies on service access